Modeling and Rendering a Labeled Bottle in Blender
Introduction
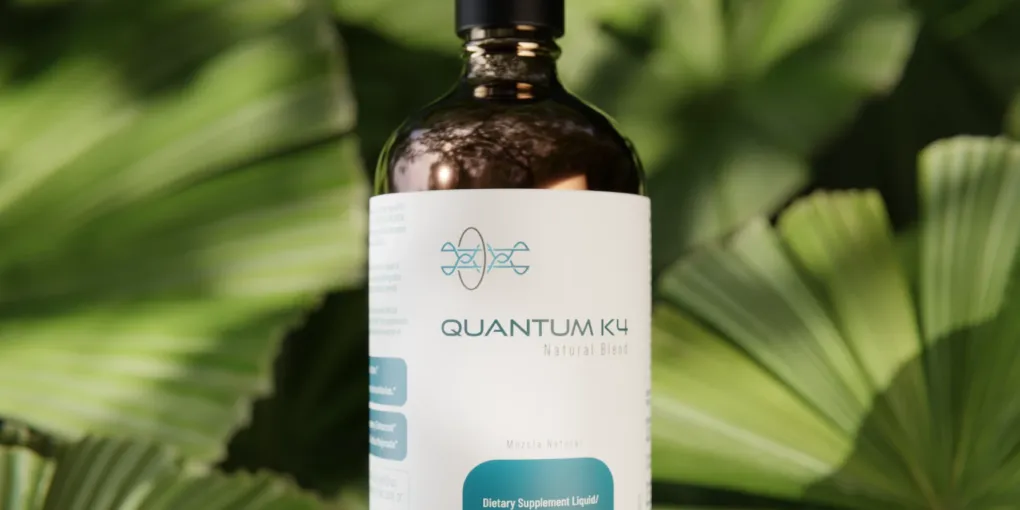
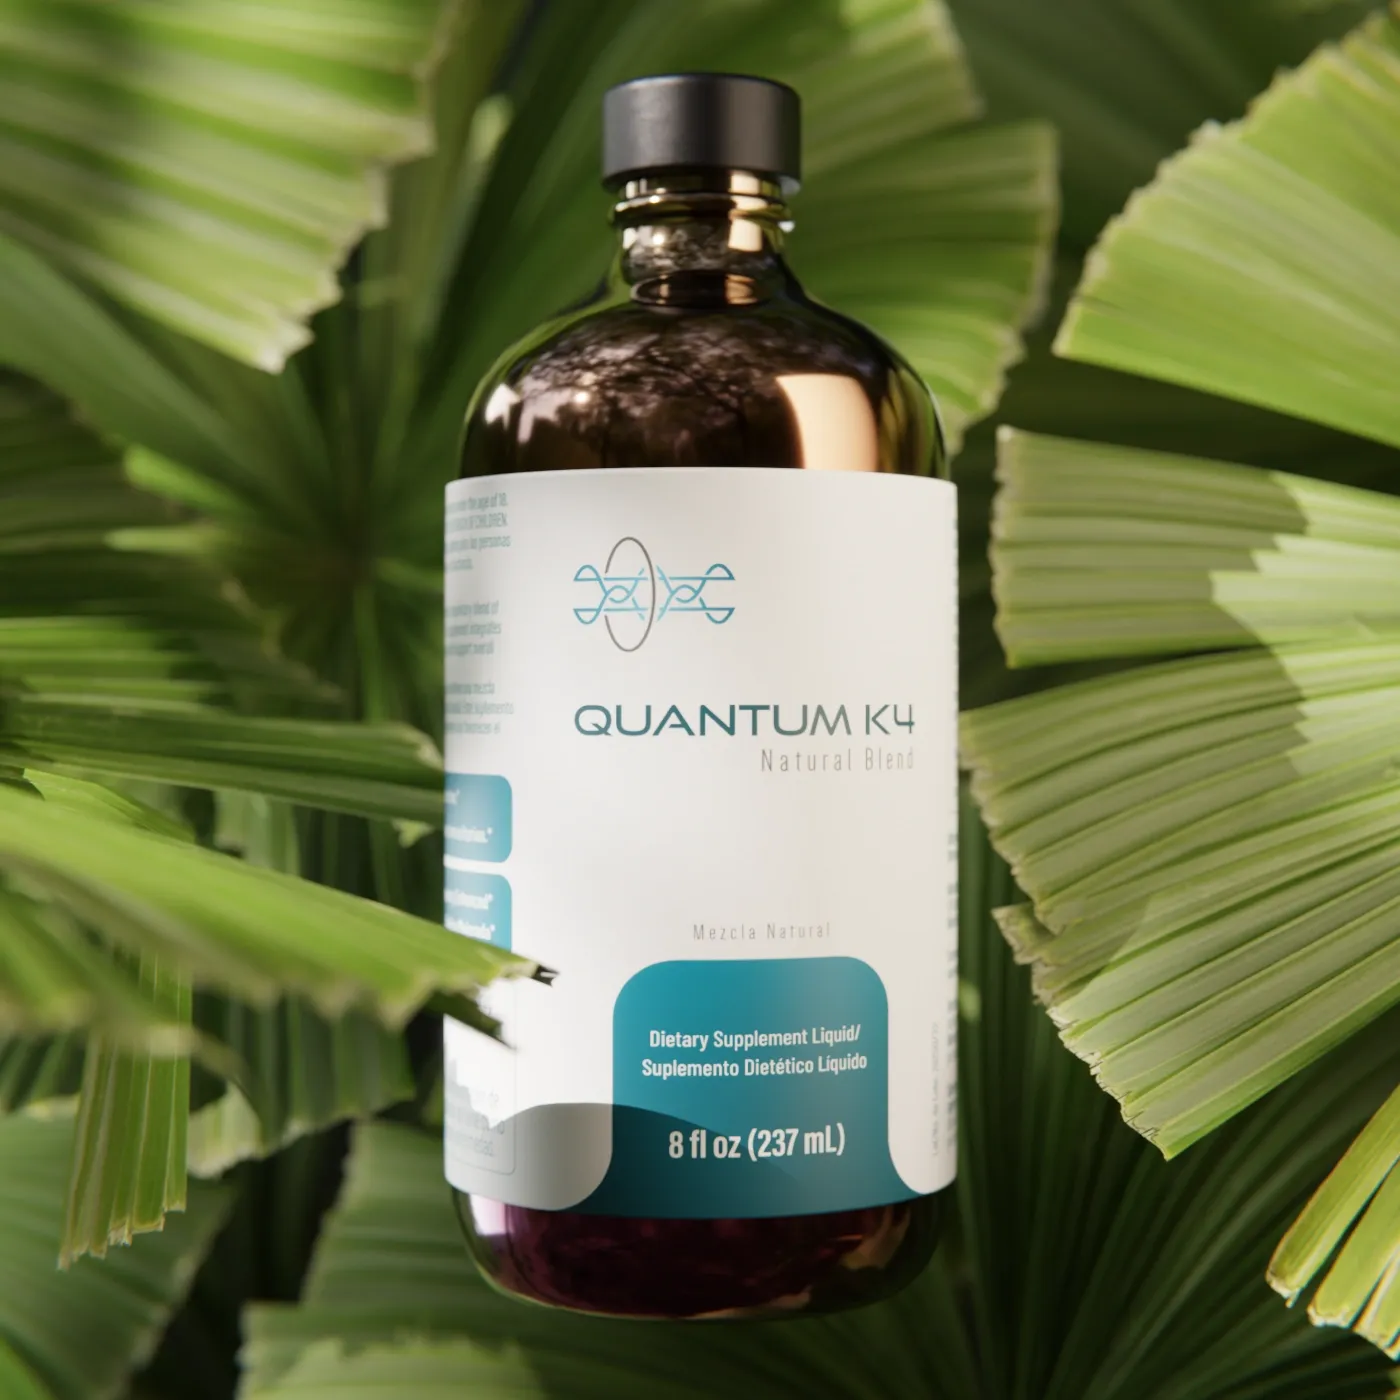
In 2025, we worked on a multidisciplinary project that included brand identity, packaging design, and web development for a nutritional supplement brand called Quantum K4. As part of that project, we needed photorealistic renders of a bottle with a custom label to use in marketing assets and on the website.
In this post, we share the process we followed to model the bottle according to manufacturer specifications, apply the designed label, and render the scene in Blender1. The techniques described here can be applied to other 3D product visualization projects.
Bottle Modeling
The task started with manufacturer specs. We had access to technical drawings, which made it possible to build an accurate 3D model.
Step 1: Bottle Profile in Illustrator
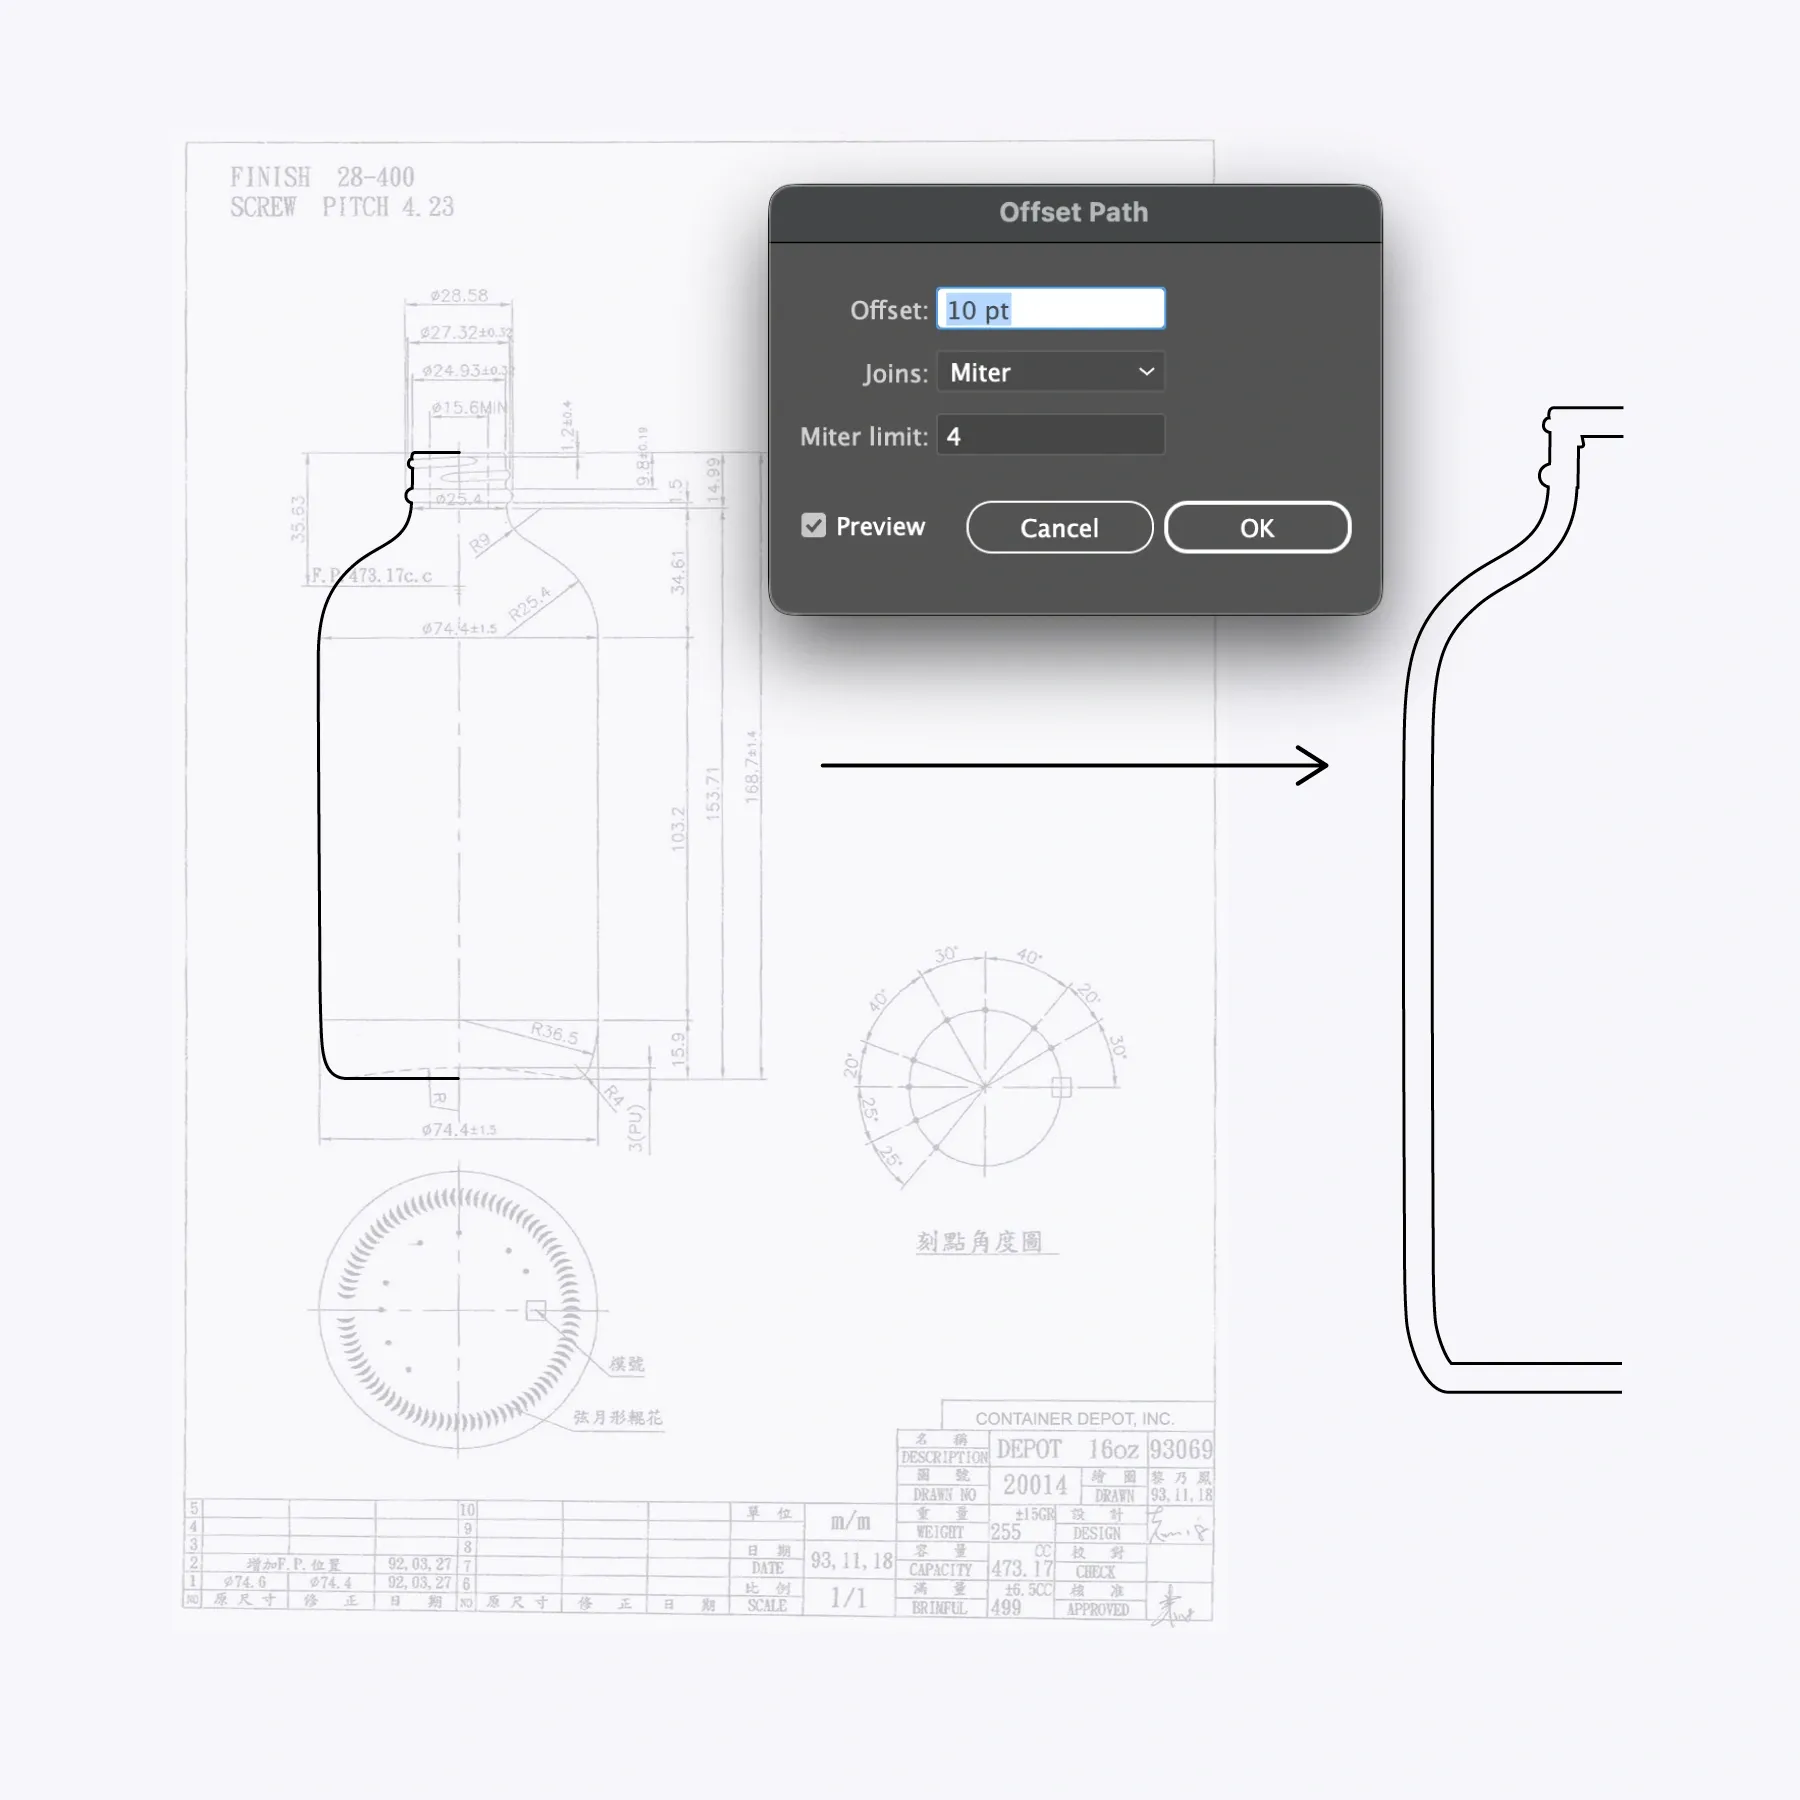
We had the bottle outline as a raster image. To proceed with 3D modeling, we first converted that outline to vector format. We used Adobe Illustrator to trace the bottle profile and export it as SVG.
We only need half of the bottle because in Blender we use the Spin tool to rotate the profile and build the full form. Still in Illustrator, we also used Offset Path to create an internal contour representing glass thickness. With those two SVG pieces ready, we moved into Blender.
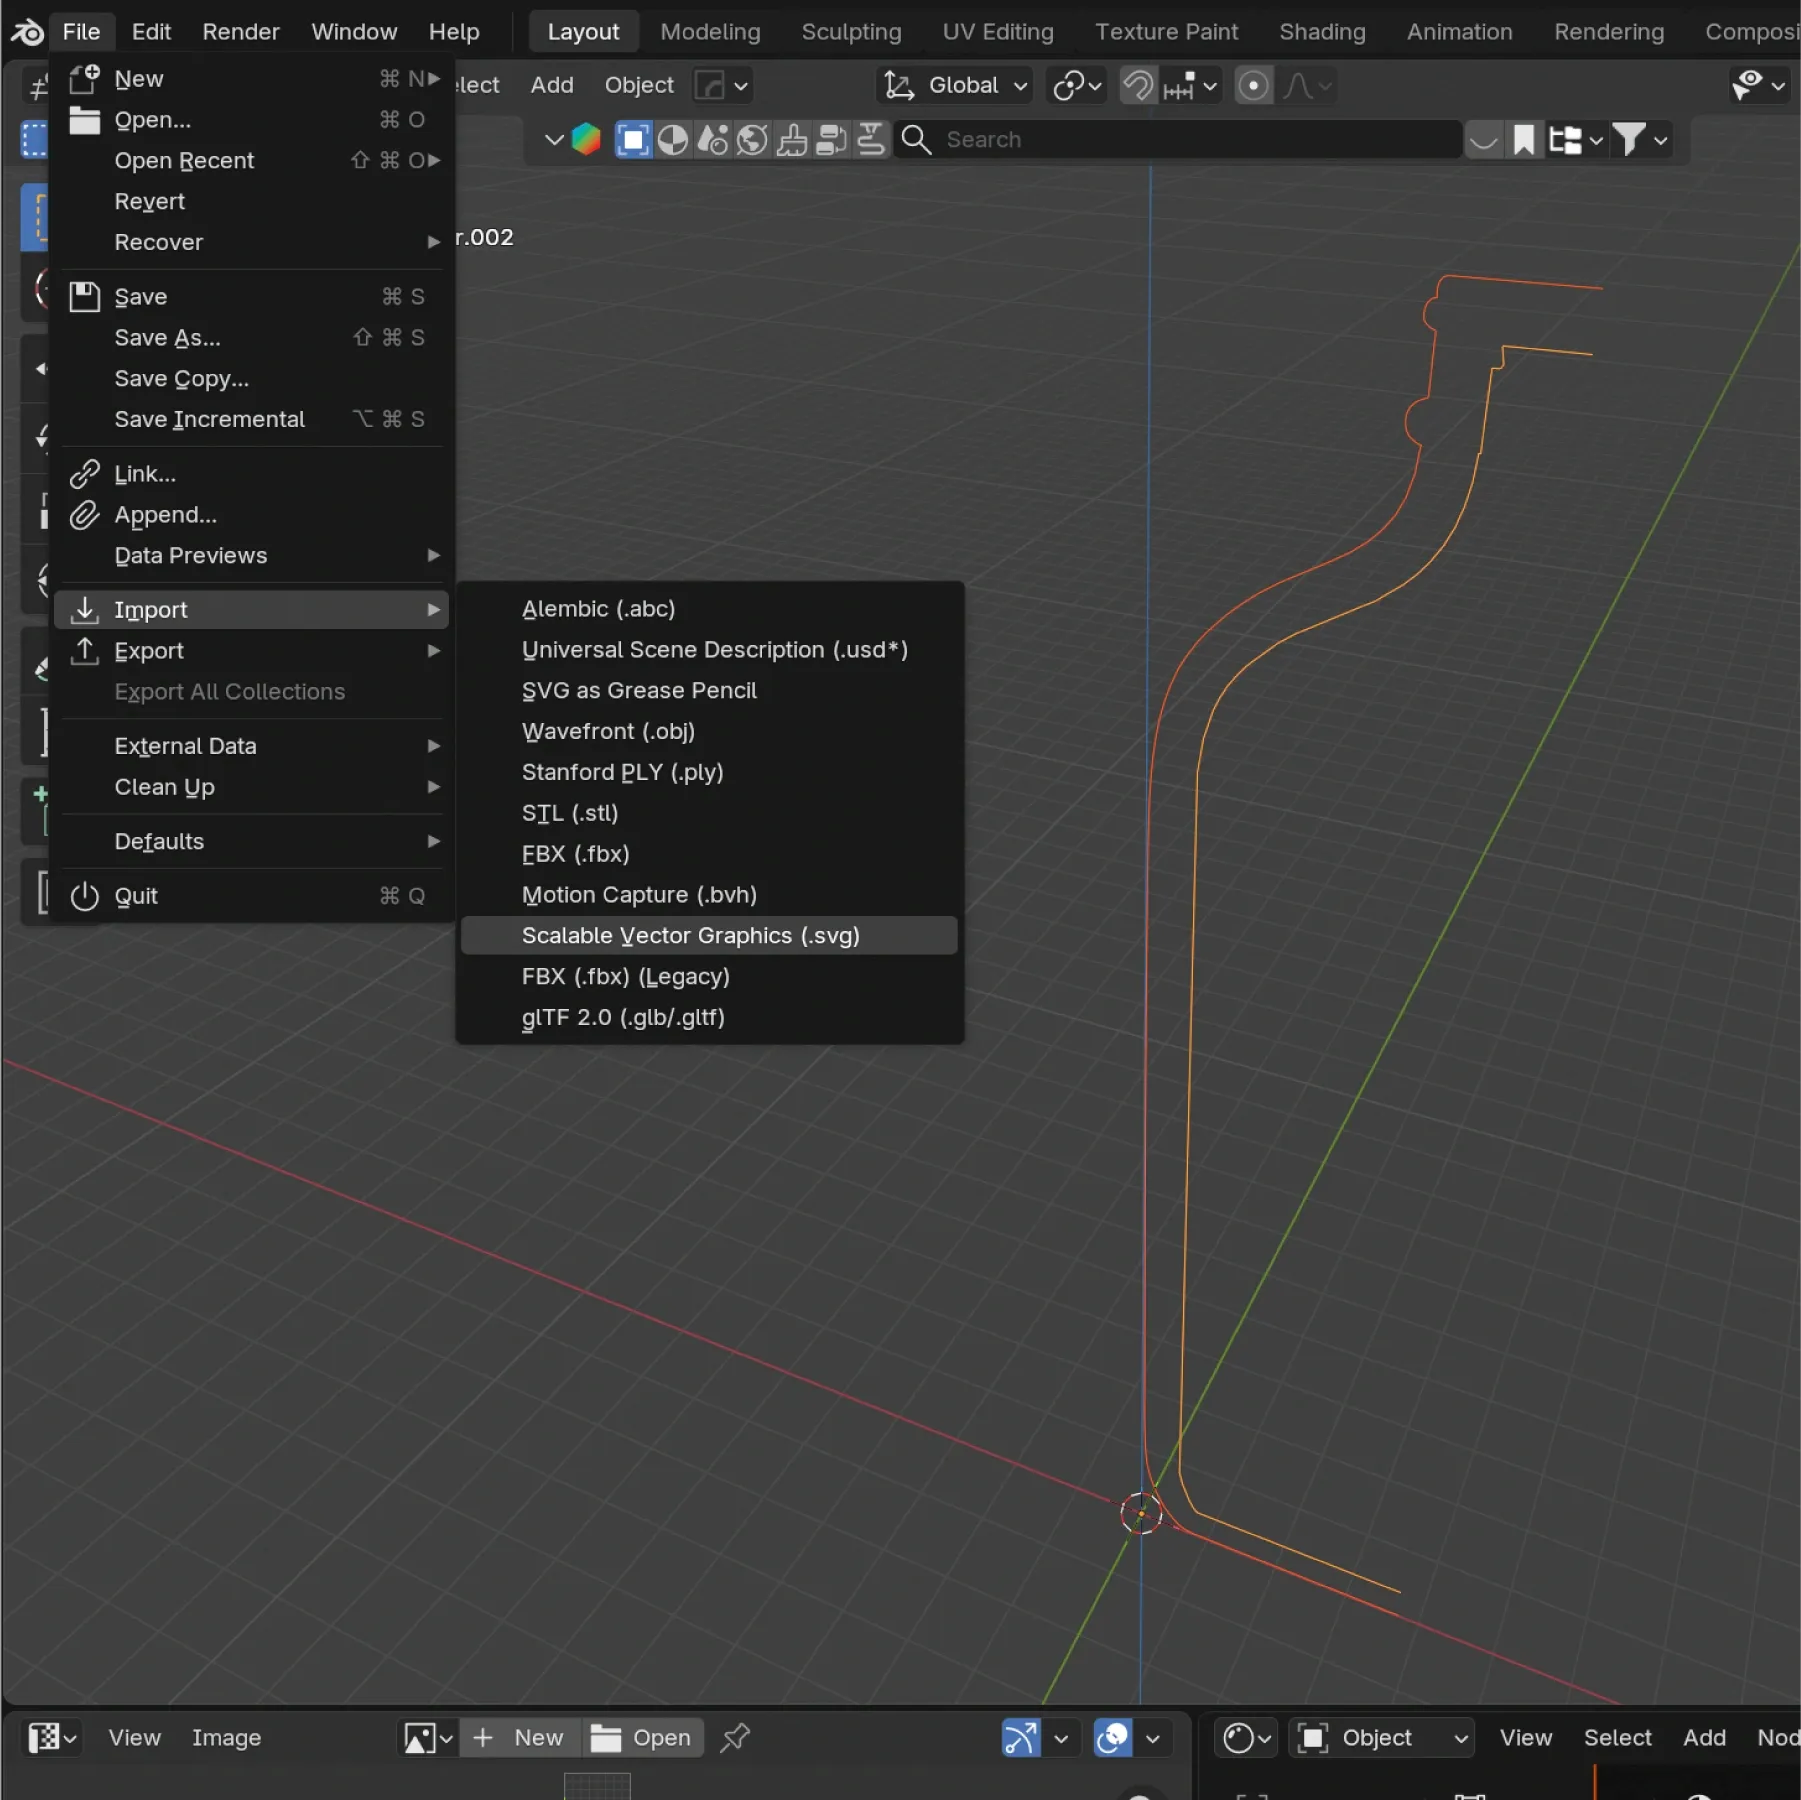
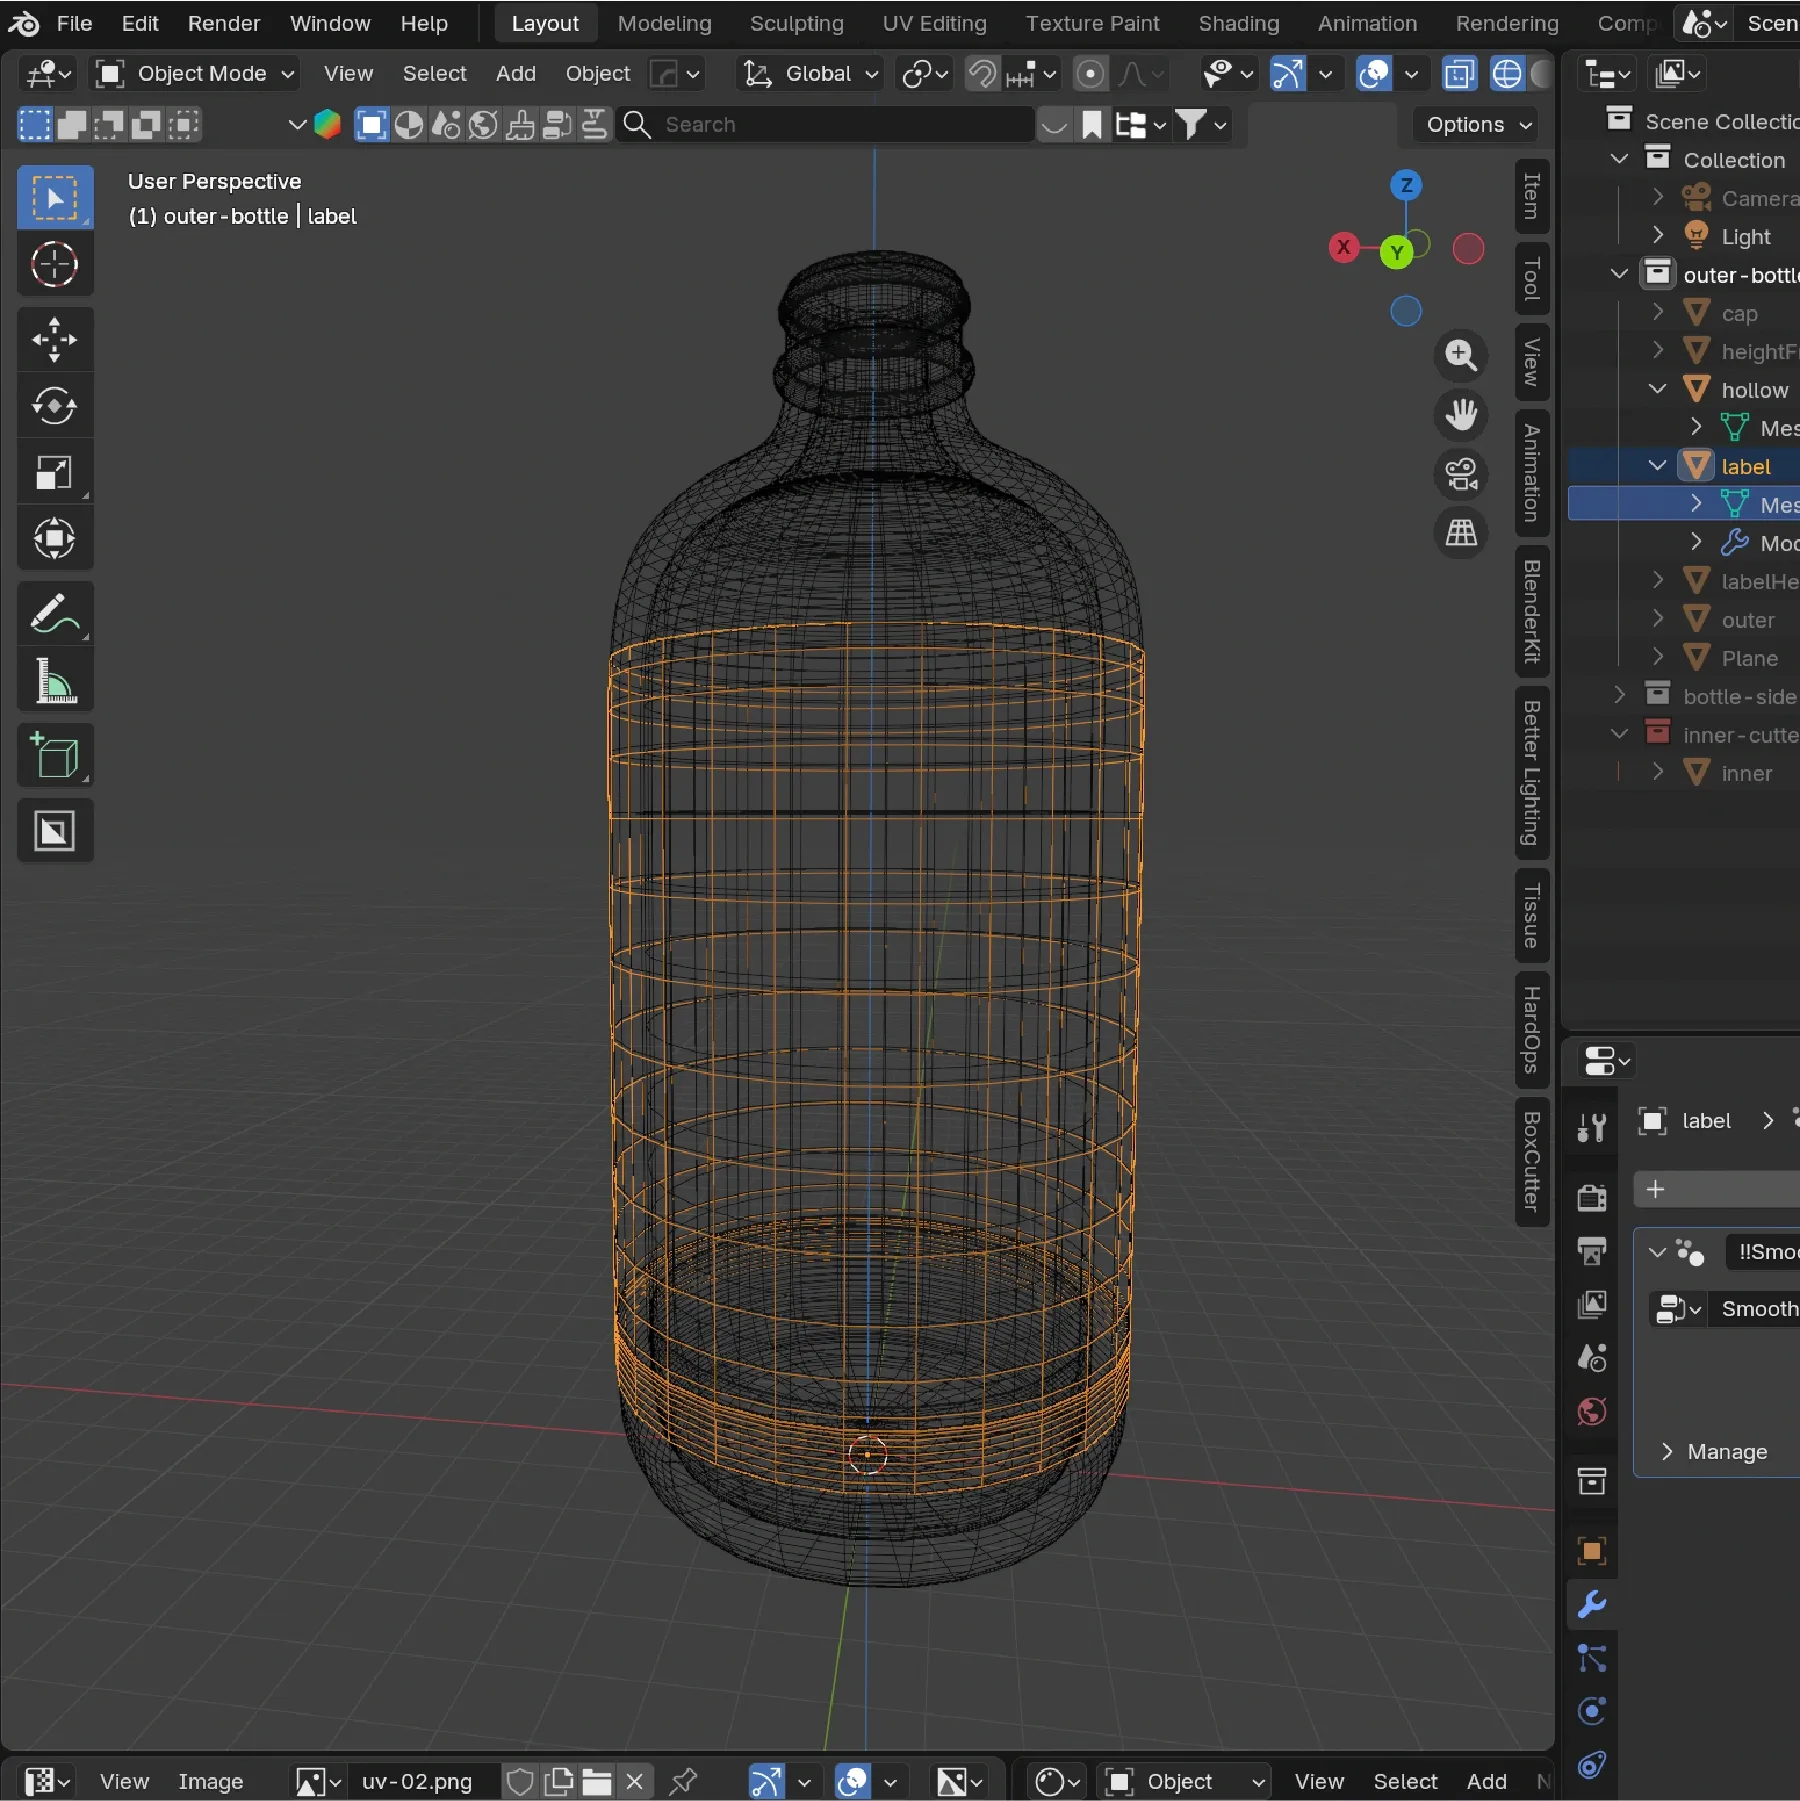
Step 2: Modeling in Blender
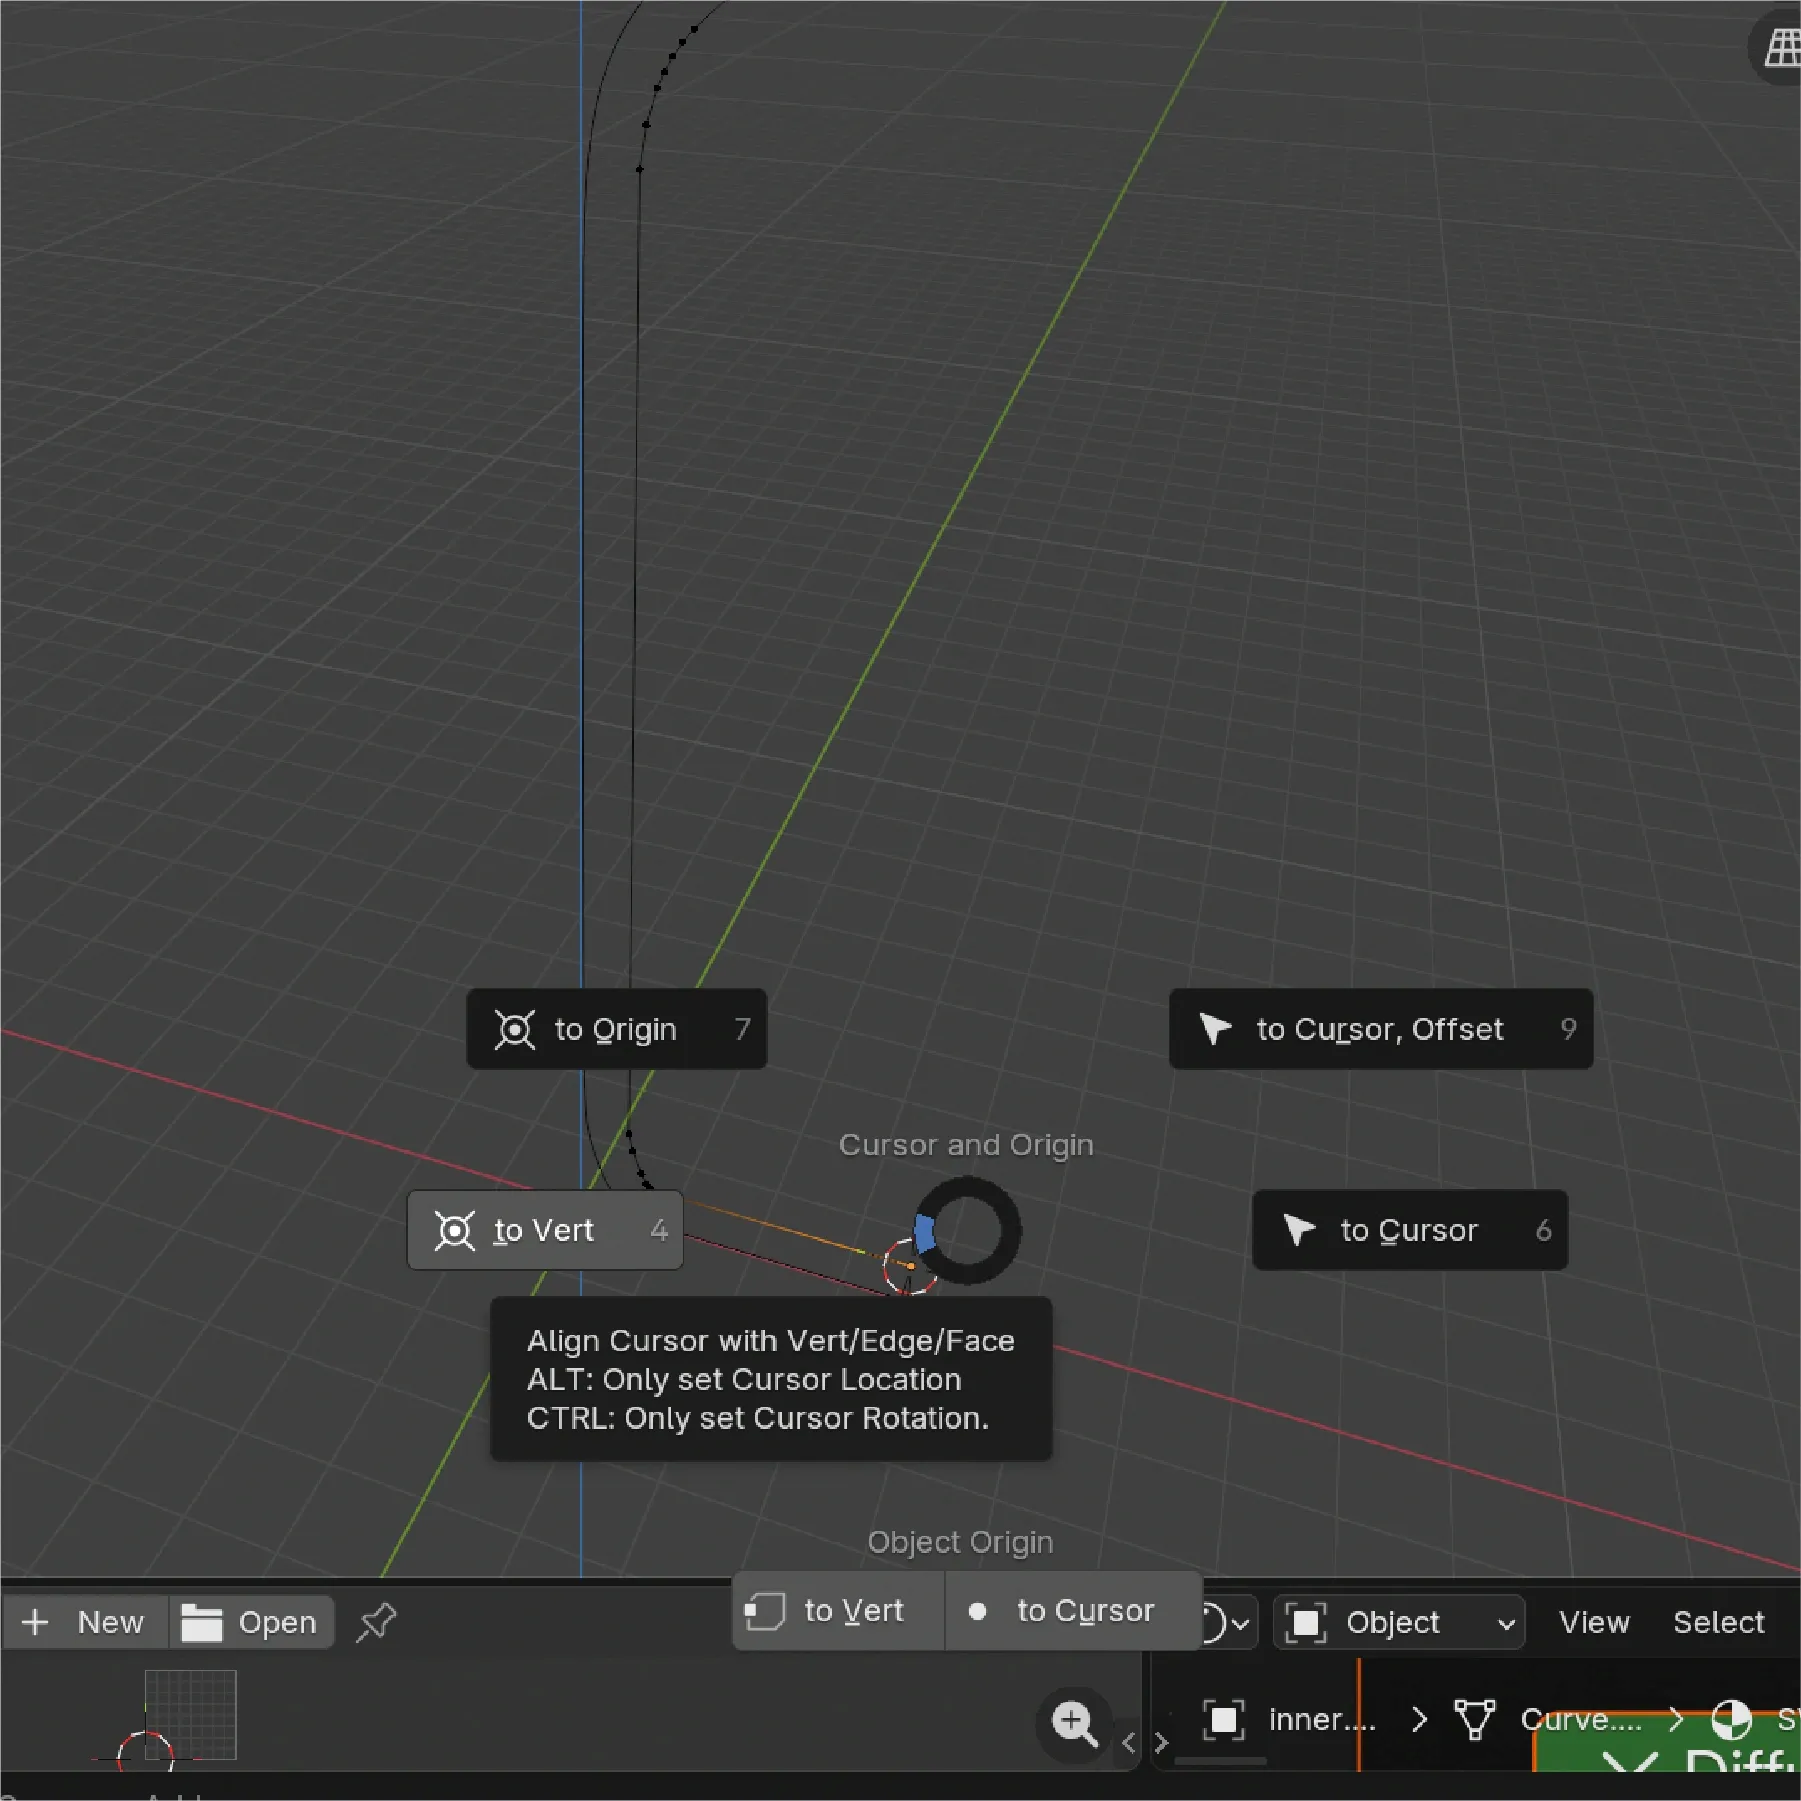
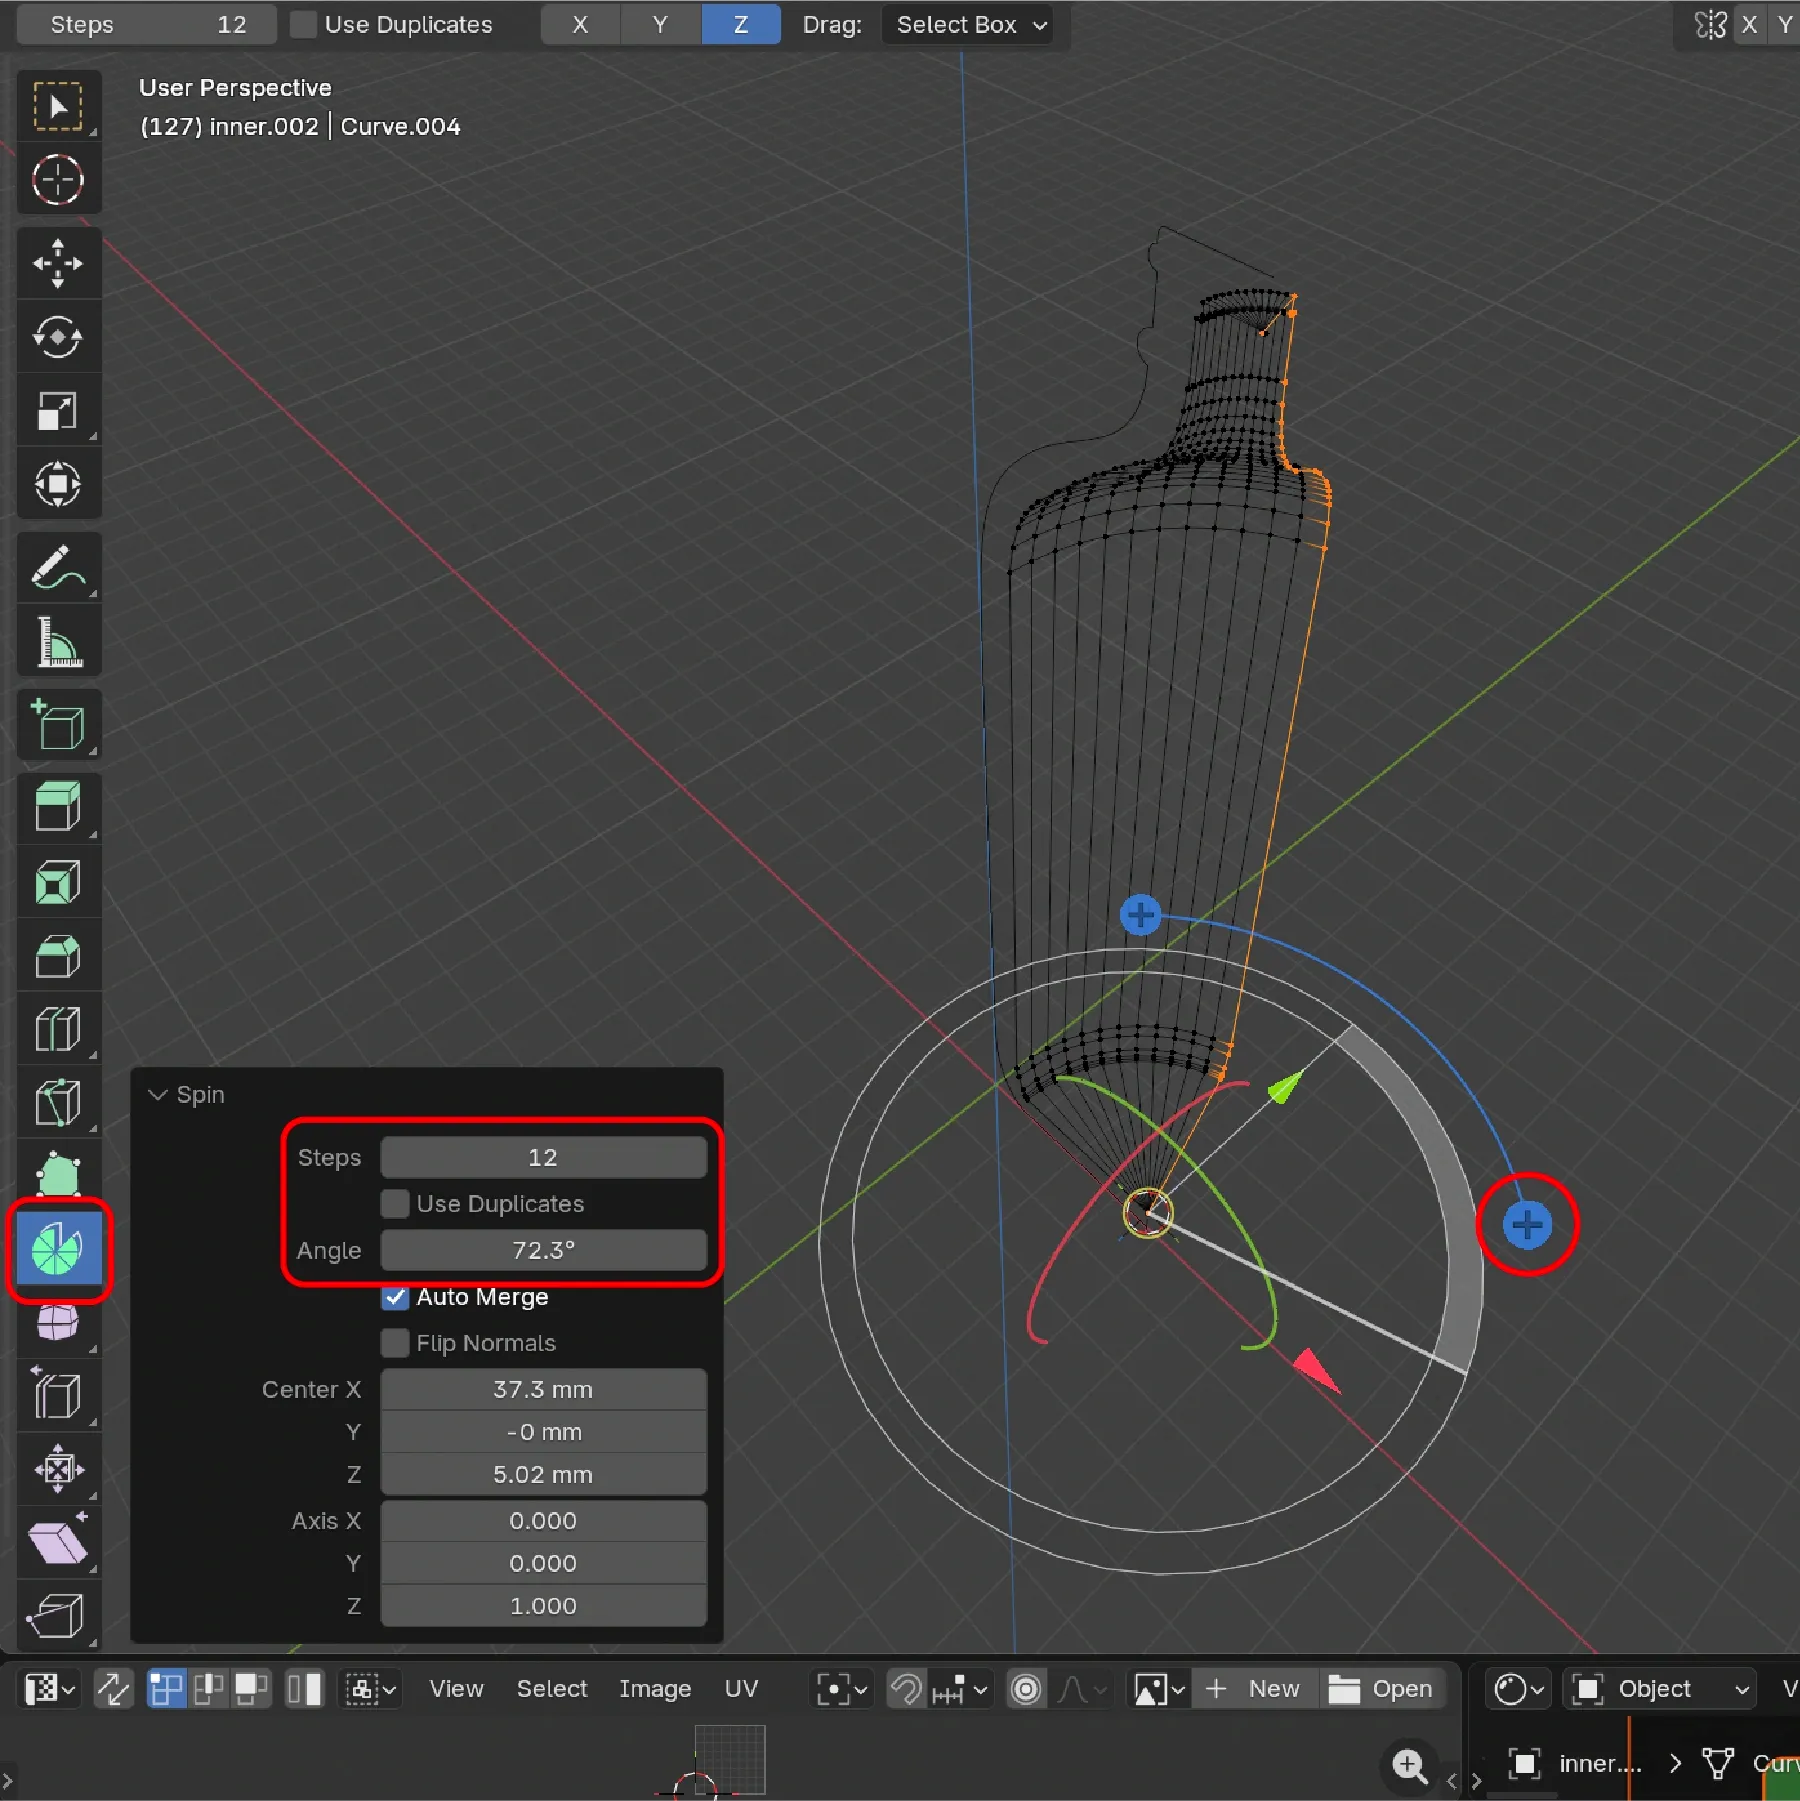
We imported the SVG into Blender and converted it to a mesh. Then, in Edit Mode, we made sure the 3D cursor was positioned at the vertex corresponding to the bottom center of the bottle. With the MACHIN3tools addon, the Shift + S shortcut lets us quickly place the 3D cursor on the selected vertex (in Edit Mode and Vertex selection). Finally, we selected all vertices (A) and used the Spin tool. The tool controls let us set a precise 360-degree turn to complete the bottle form.
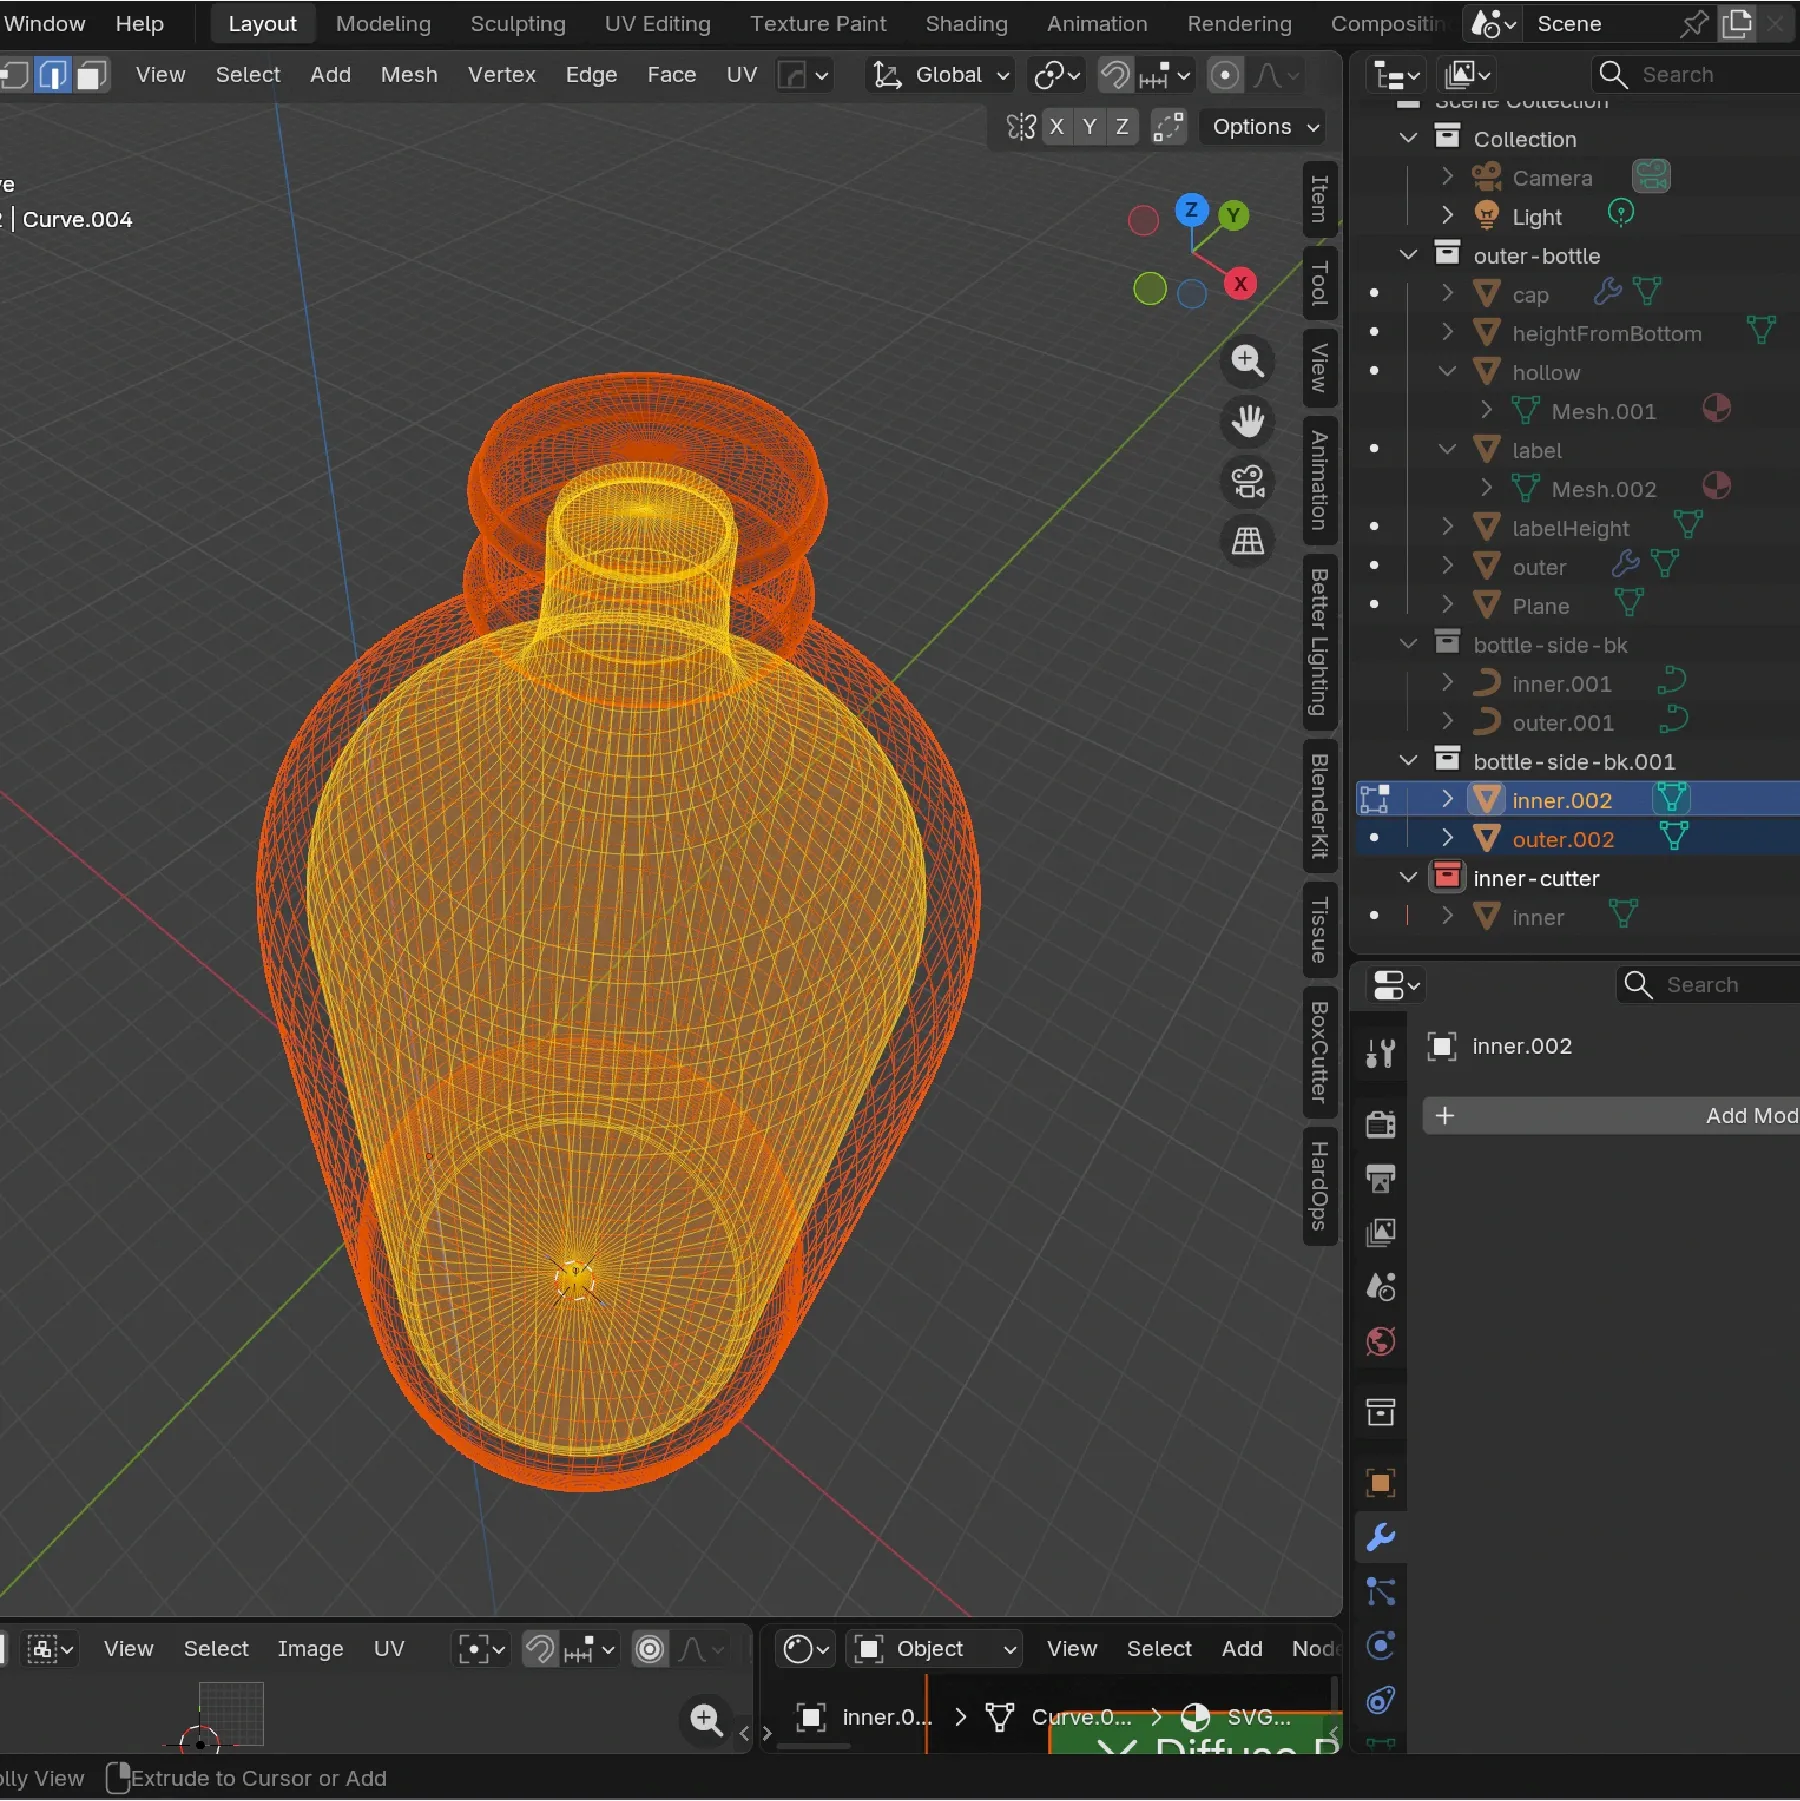
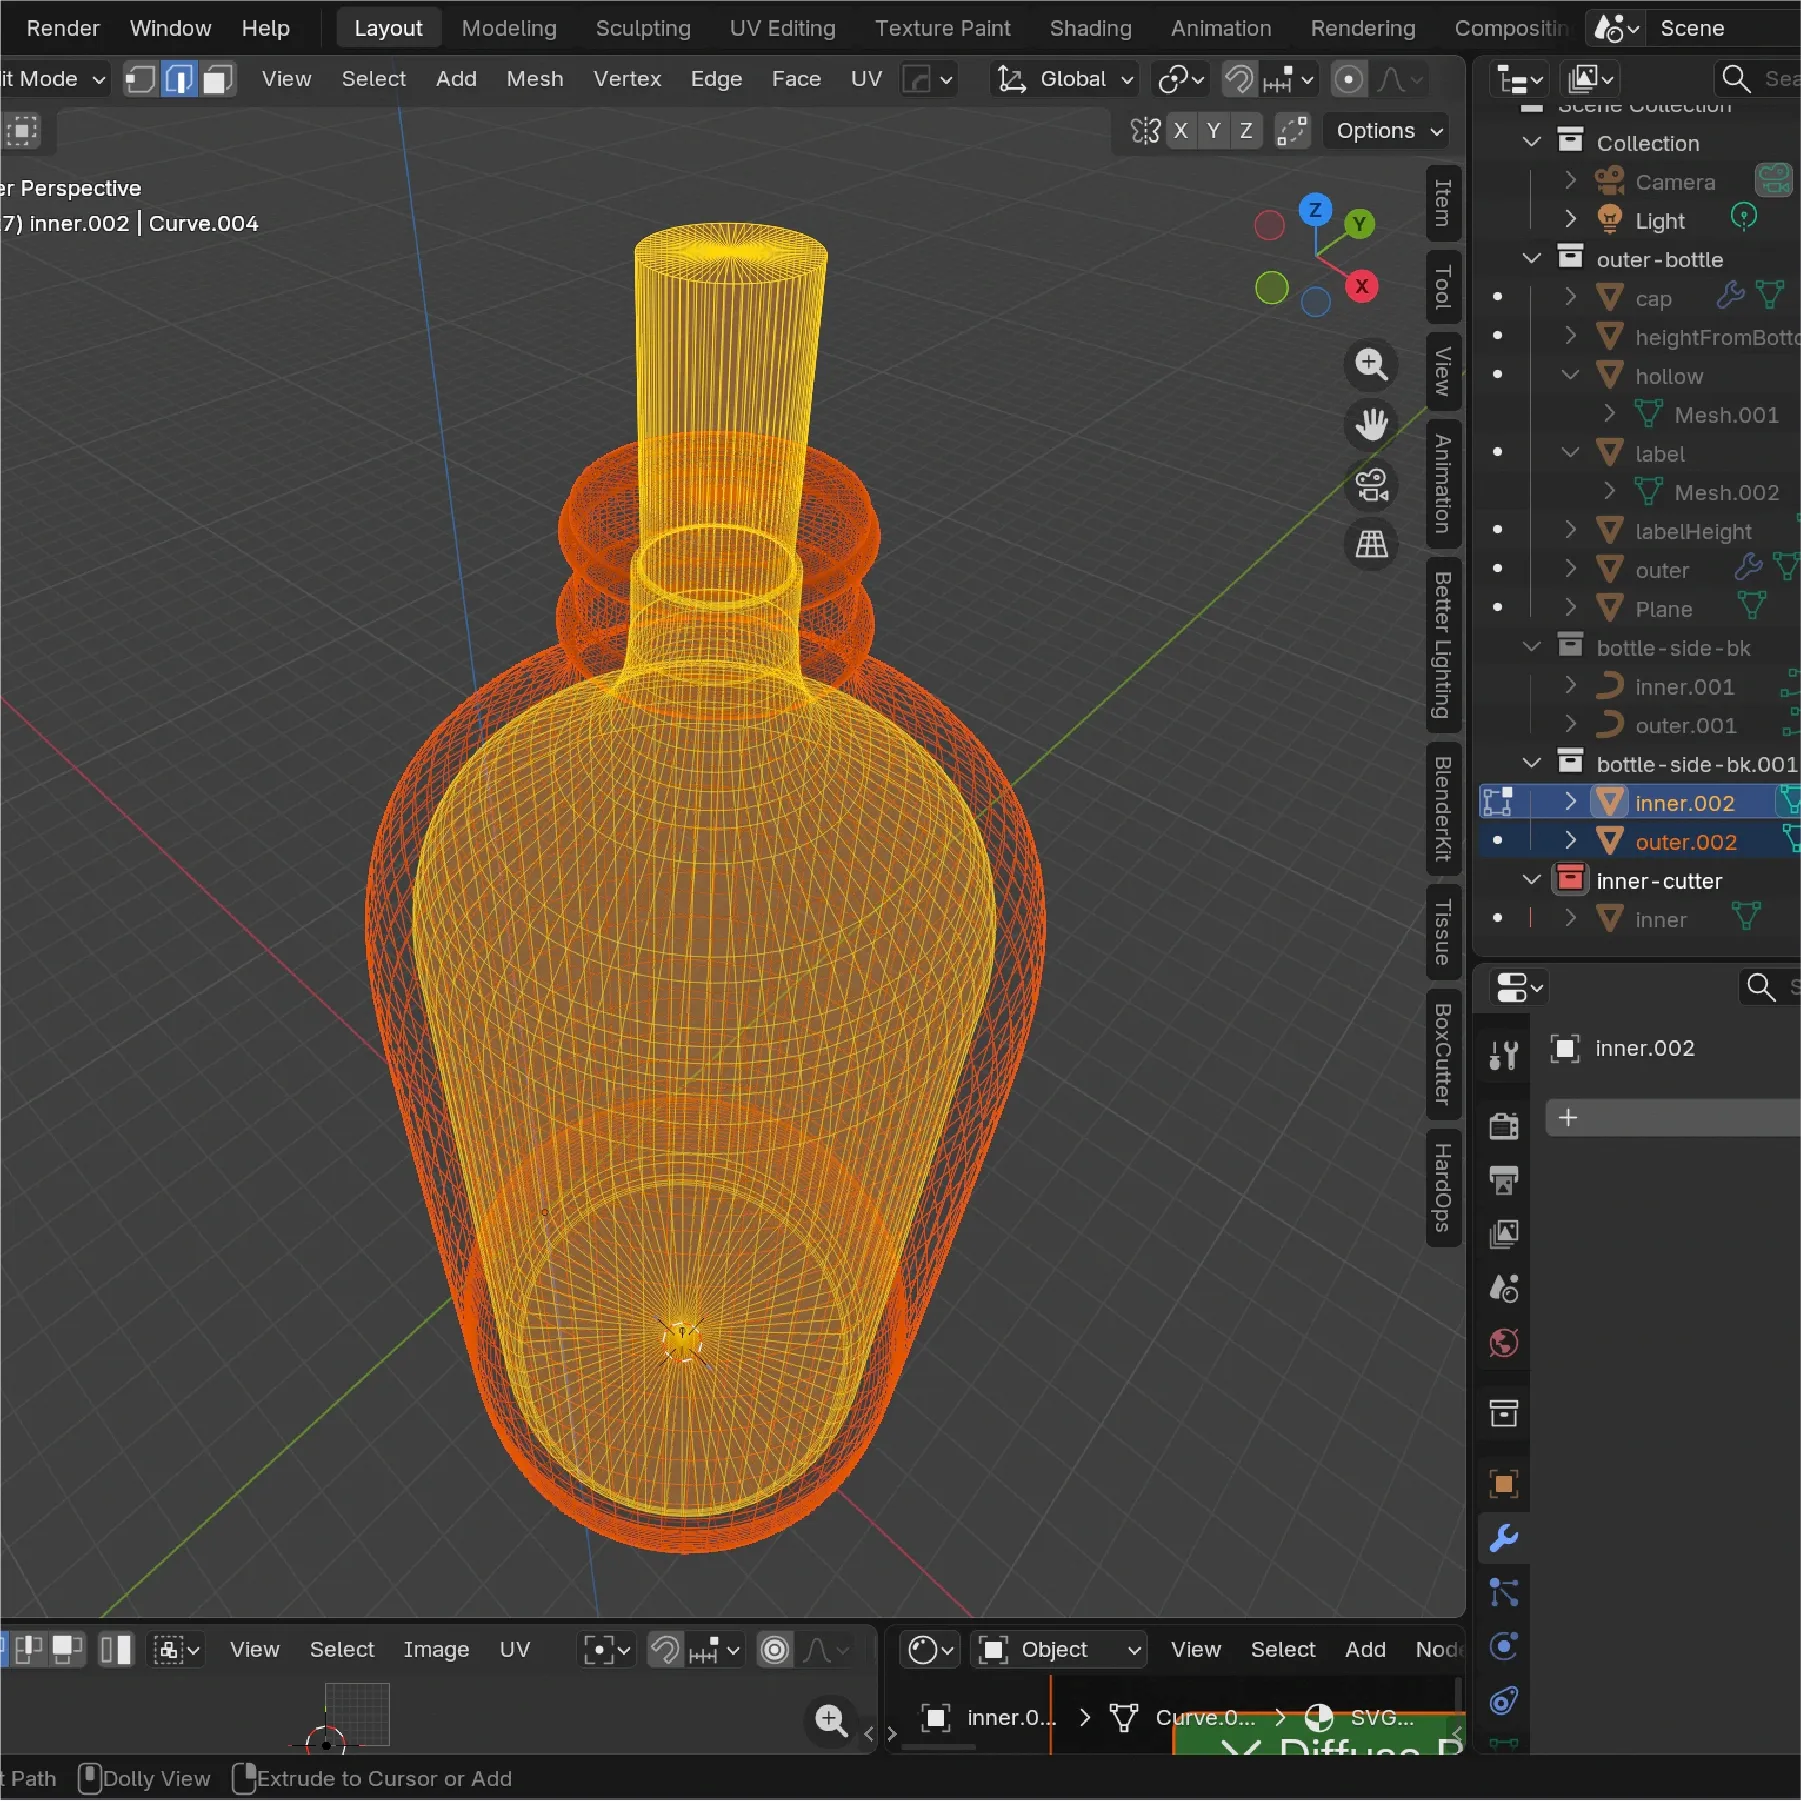
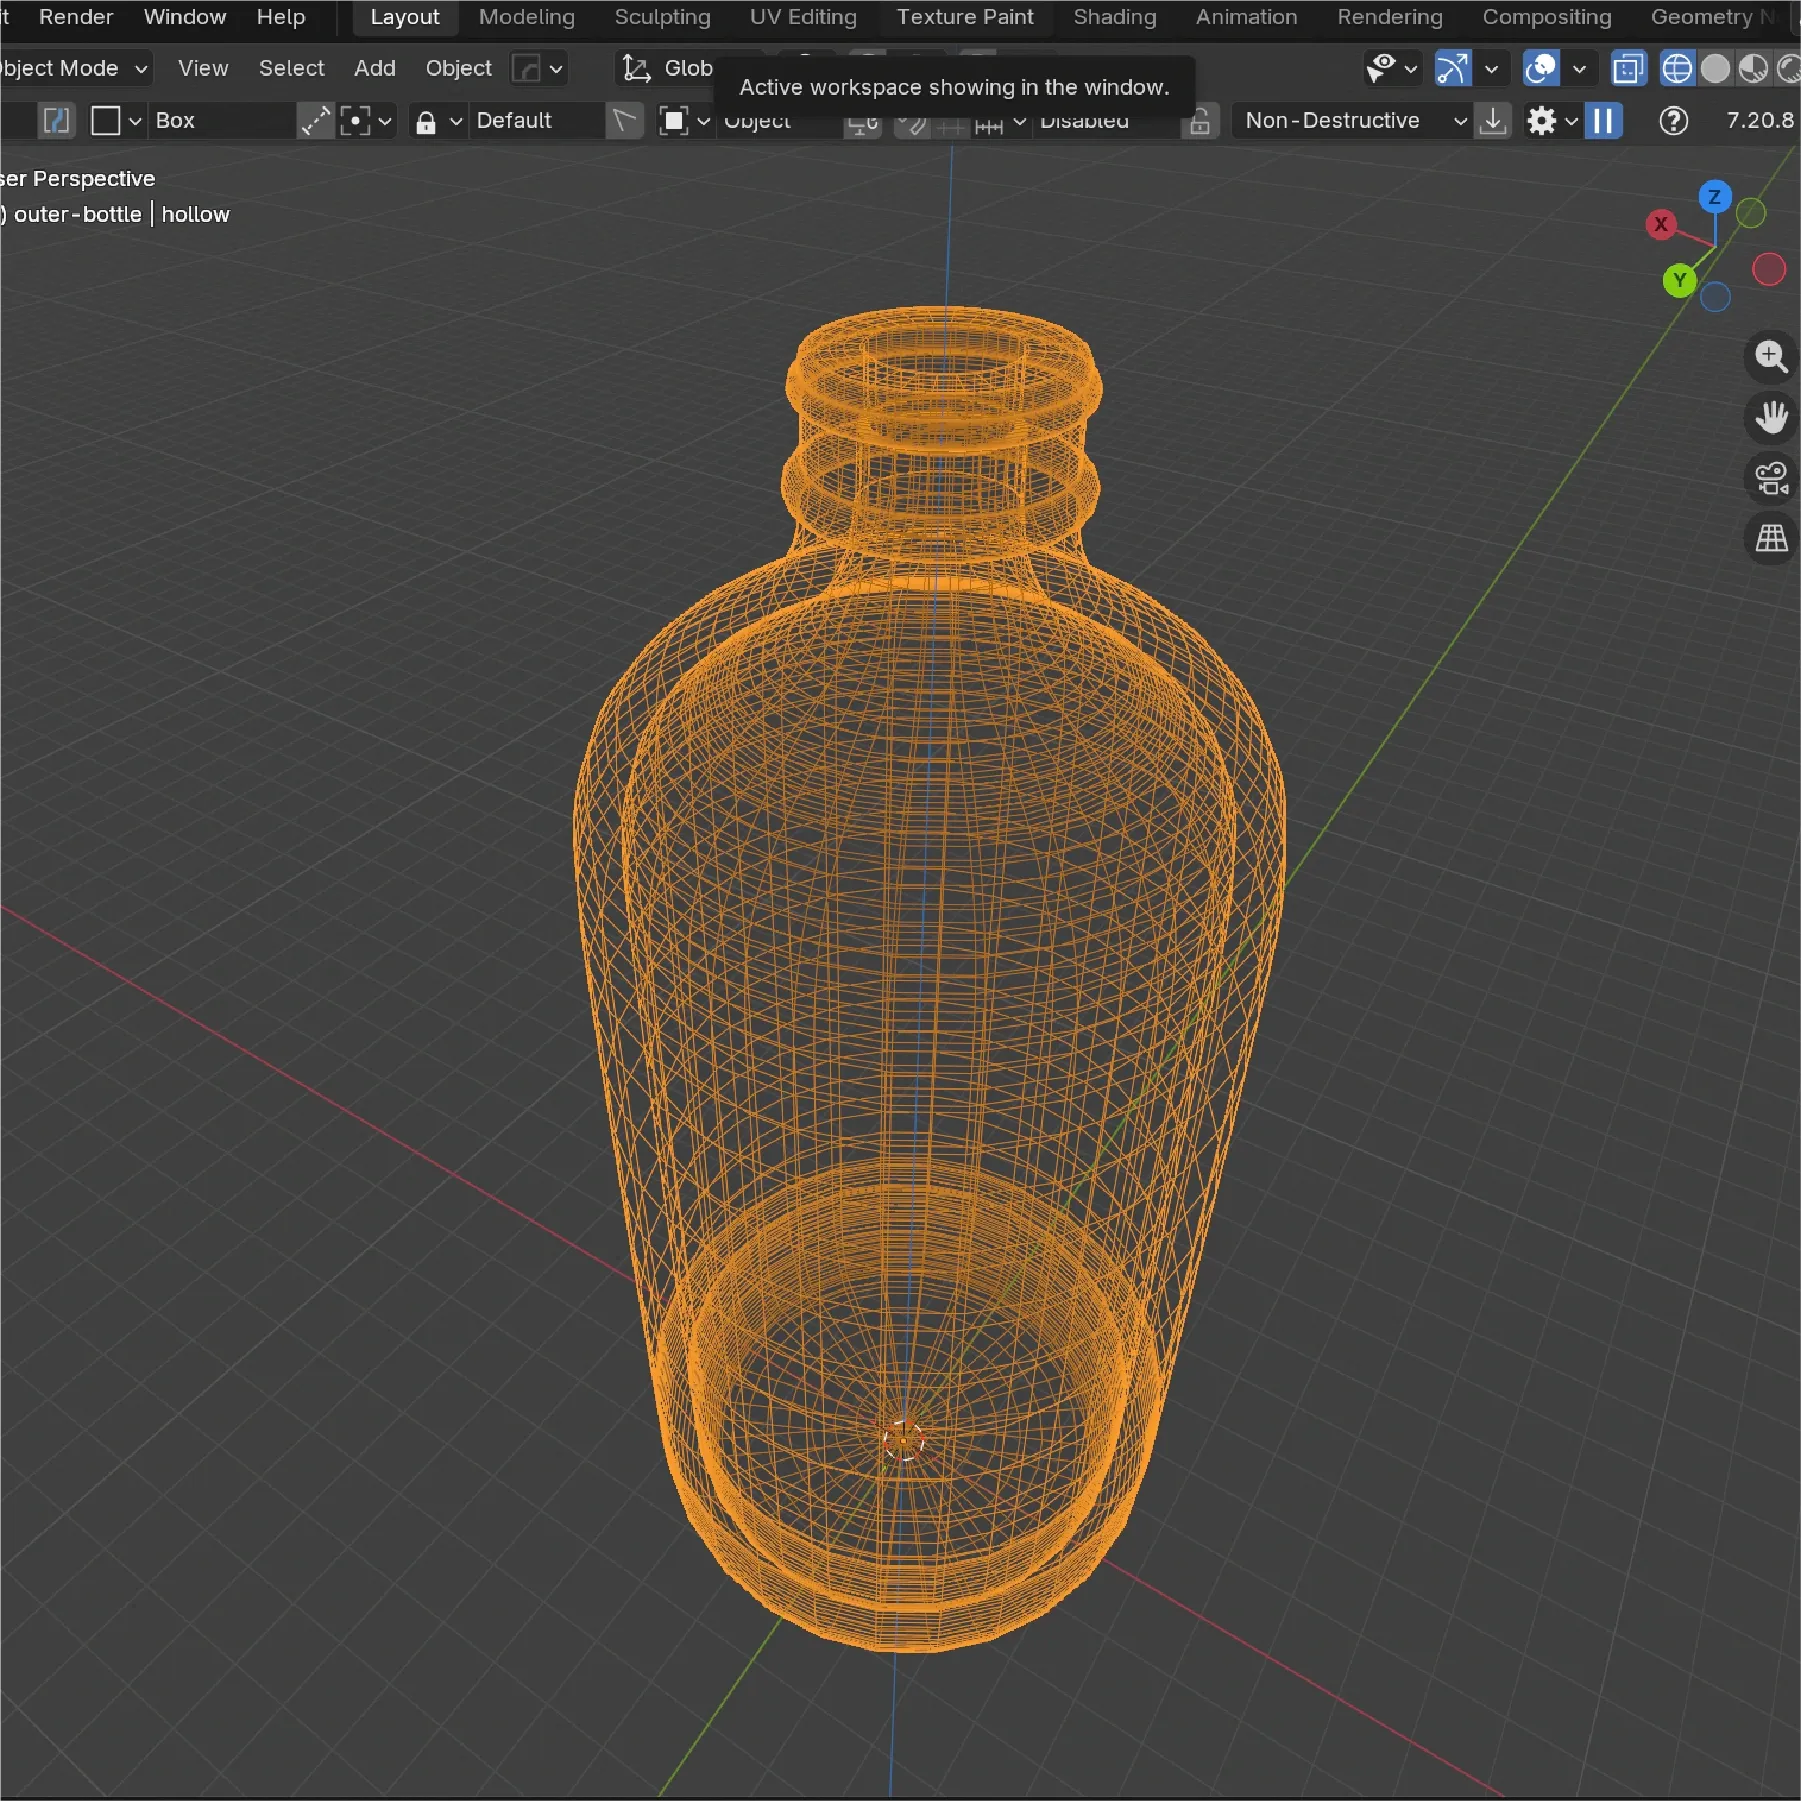
We use the spin tool for both external and internal contours. This creates two closed solids. The next step is subtracting the inner solid from the outer one to create the bottle cavity. We used a Boolean modifier with Difference operation to obtain the correct wall thickness. Before applying the modifier, we stretched the upper area of the inner solid to create the bottle neck.
Step 3: Materials and Textures
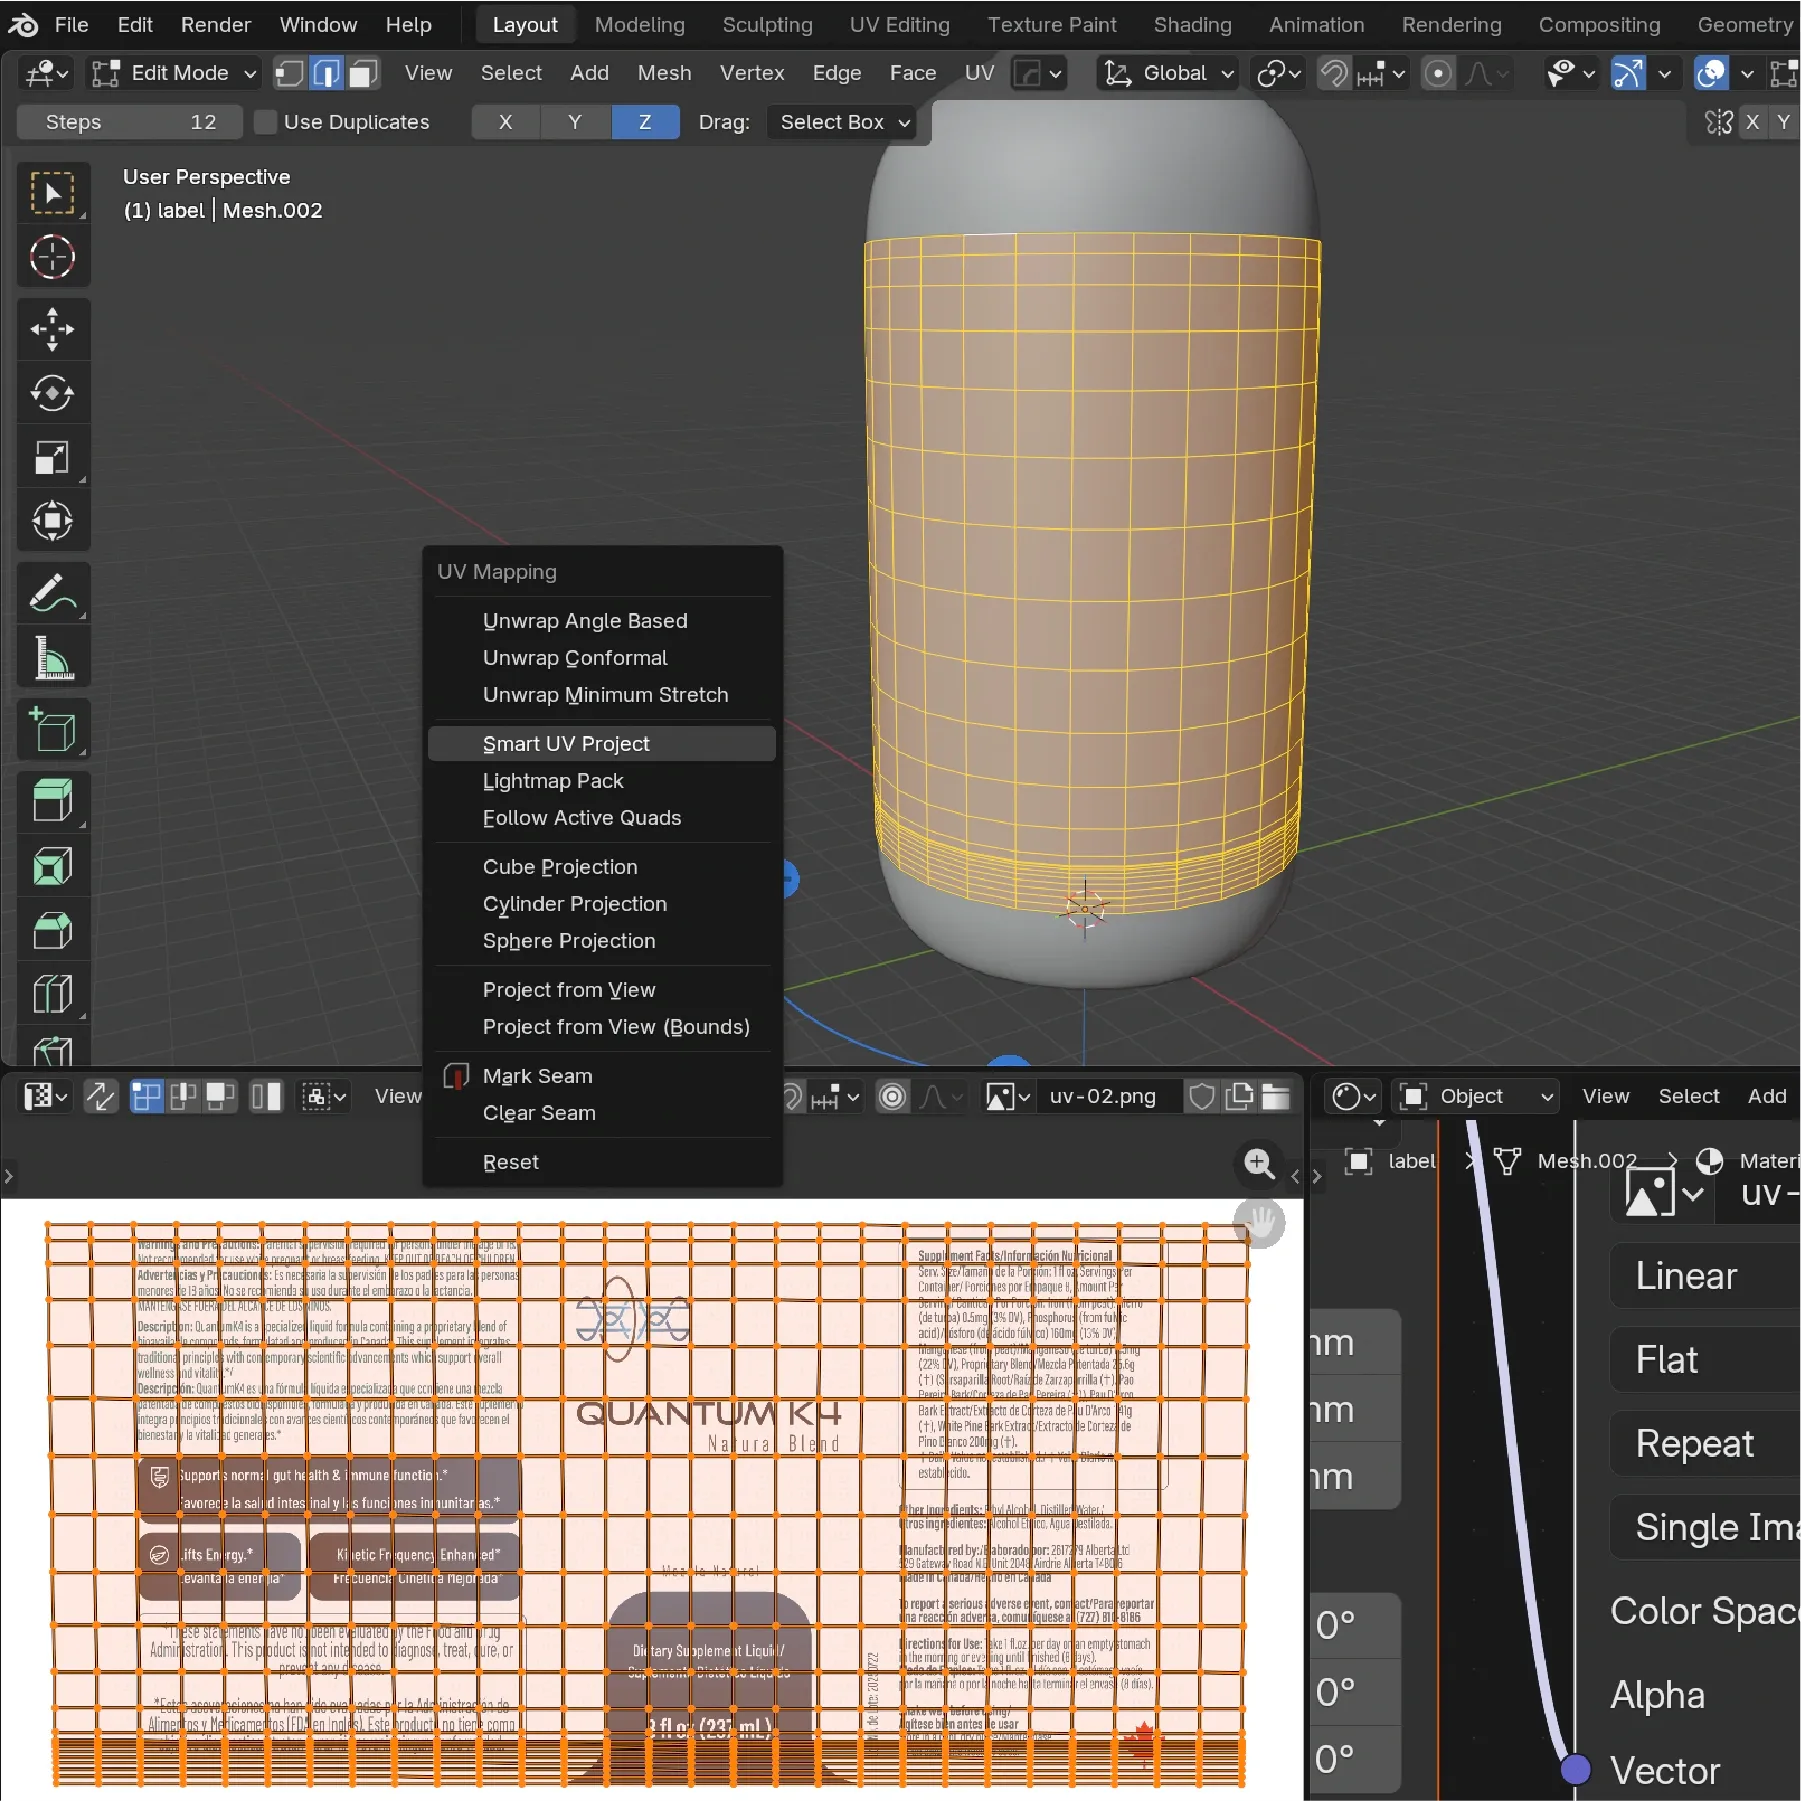
At this point the bottle mesh was complete. To start texturing, we took a section of the bottle body (based on manufacturer specs shown earlier) and separated it into an independent object. This object is used for applying the designed label.
That separated section was UV unwrapped into a flat layout for clean label placement. In the Shader Editor, we created a label material using an image texture and adjusted parameters to reach the desired finish.
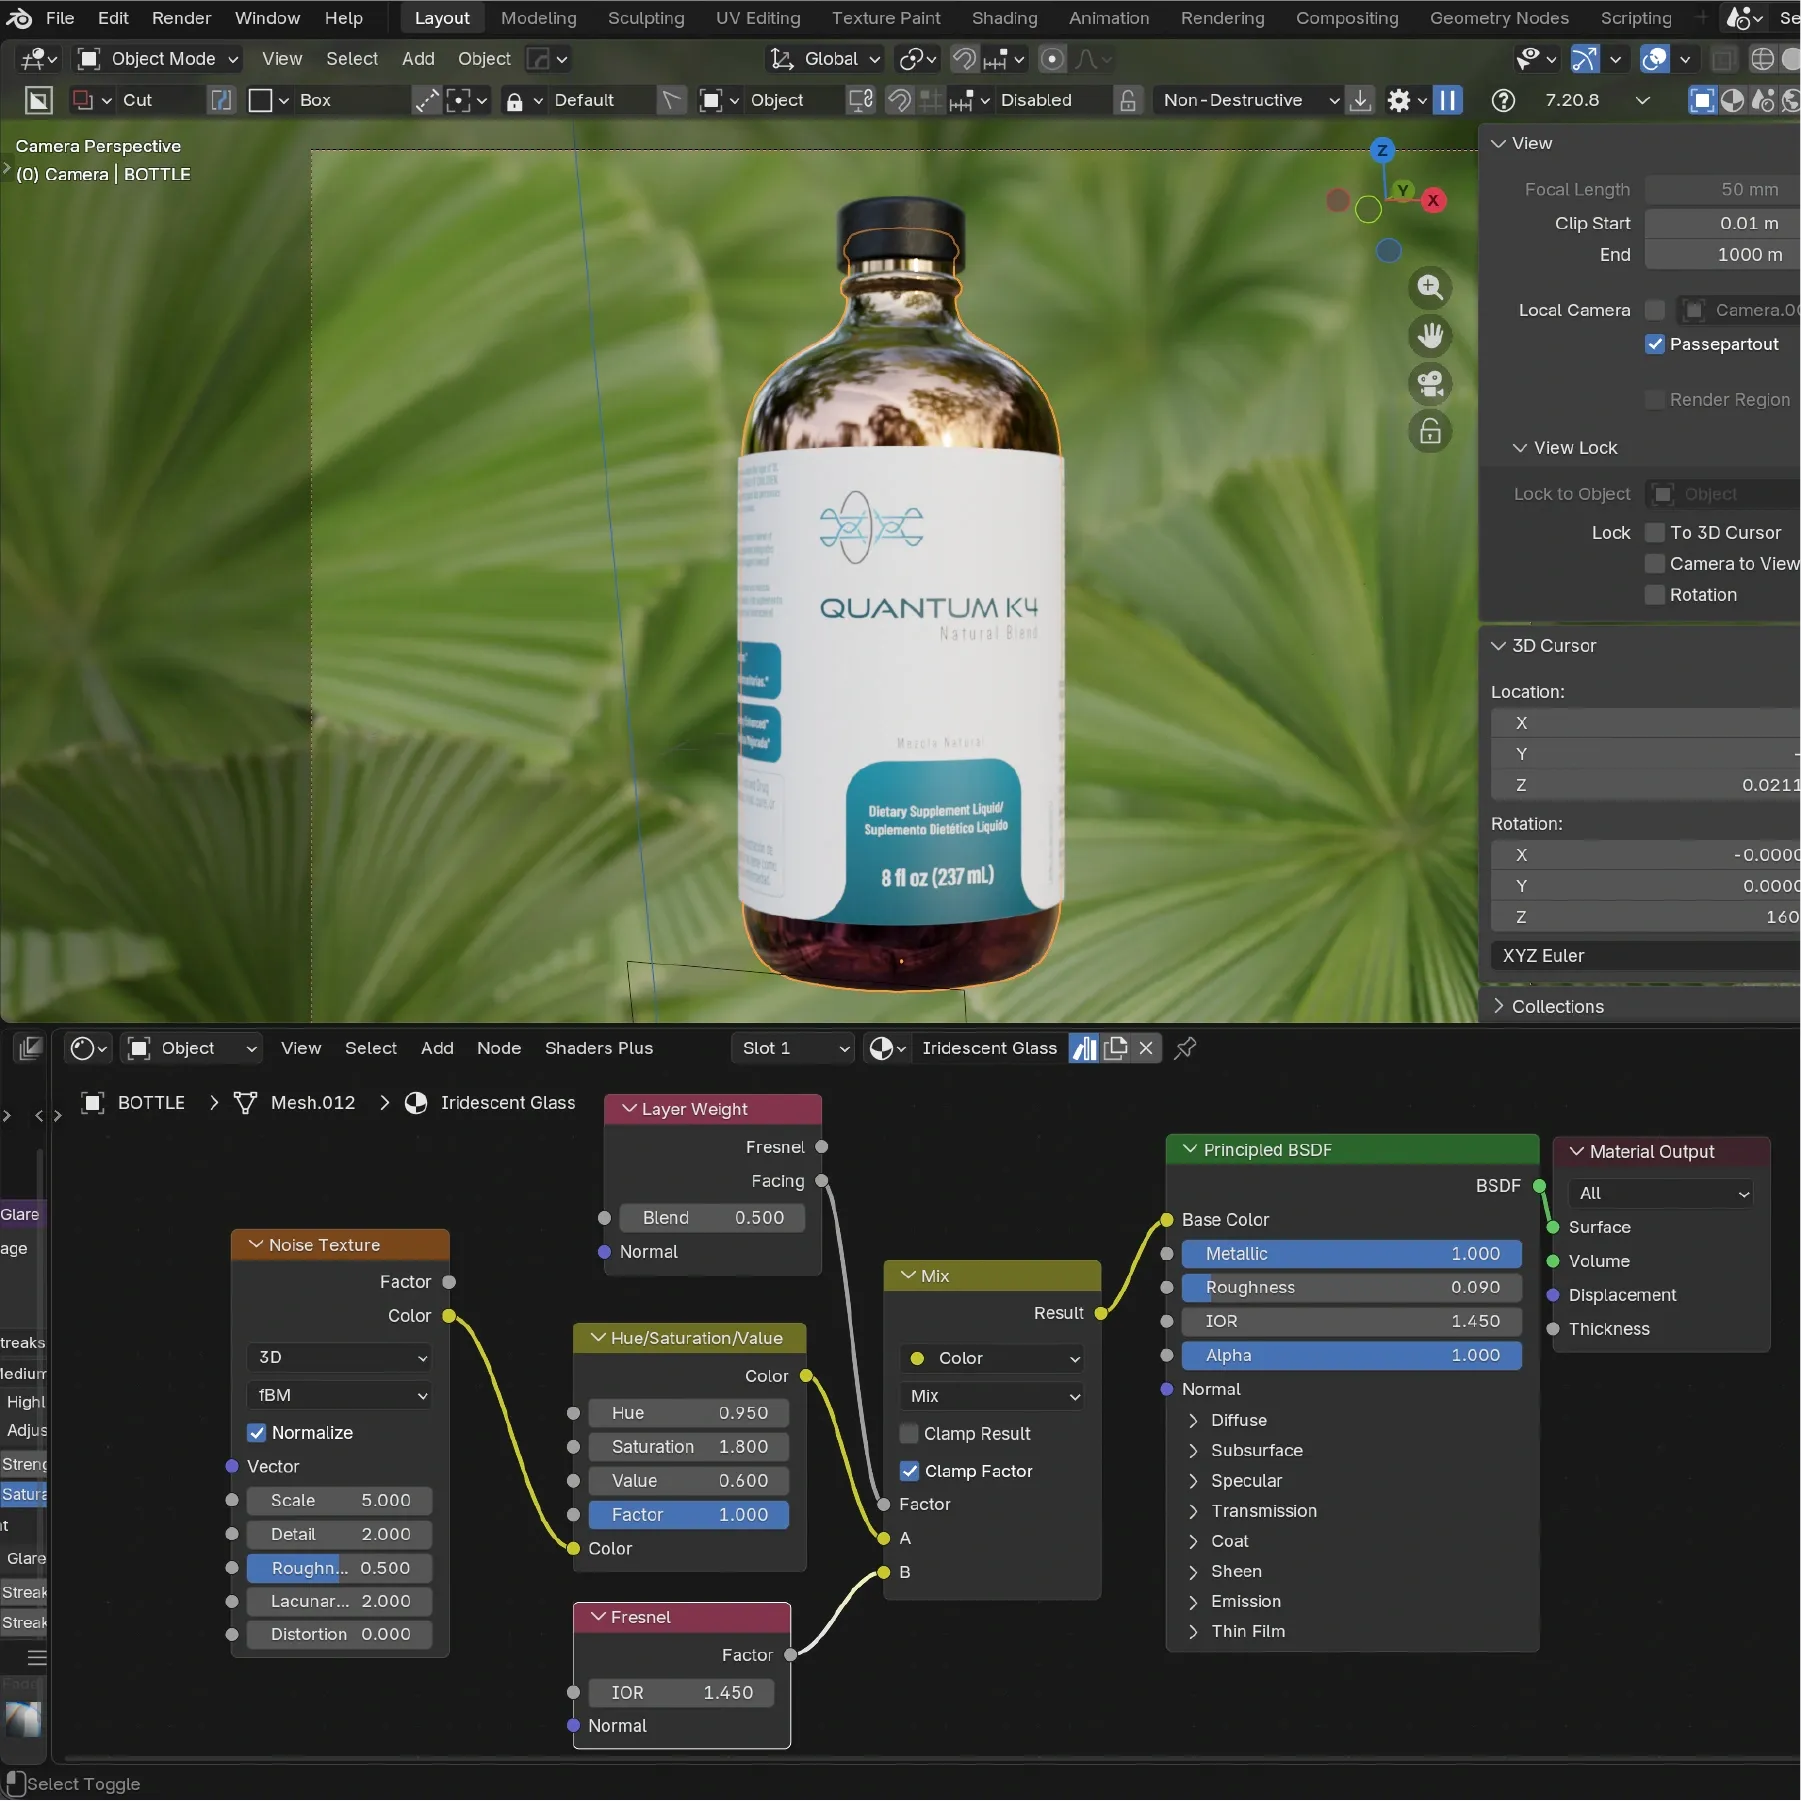
With the label in place, we created materials for the glass and the liquid inside the bottle. We used a glass material with tuned refraction/reflection parameters (shown in screenshots). The index of refraction (IOR) is especially important for realism. In this example, we used IOR 1.45 for the glass to match the physical reference.
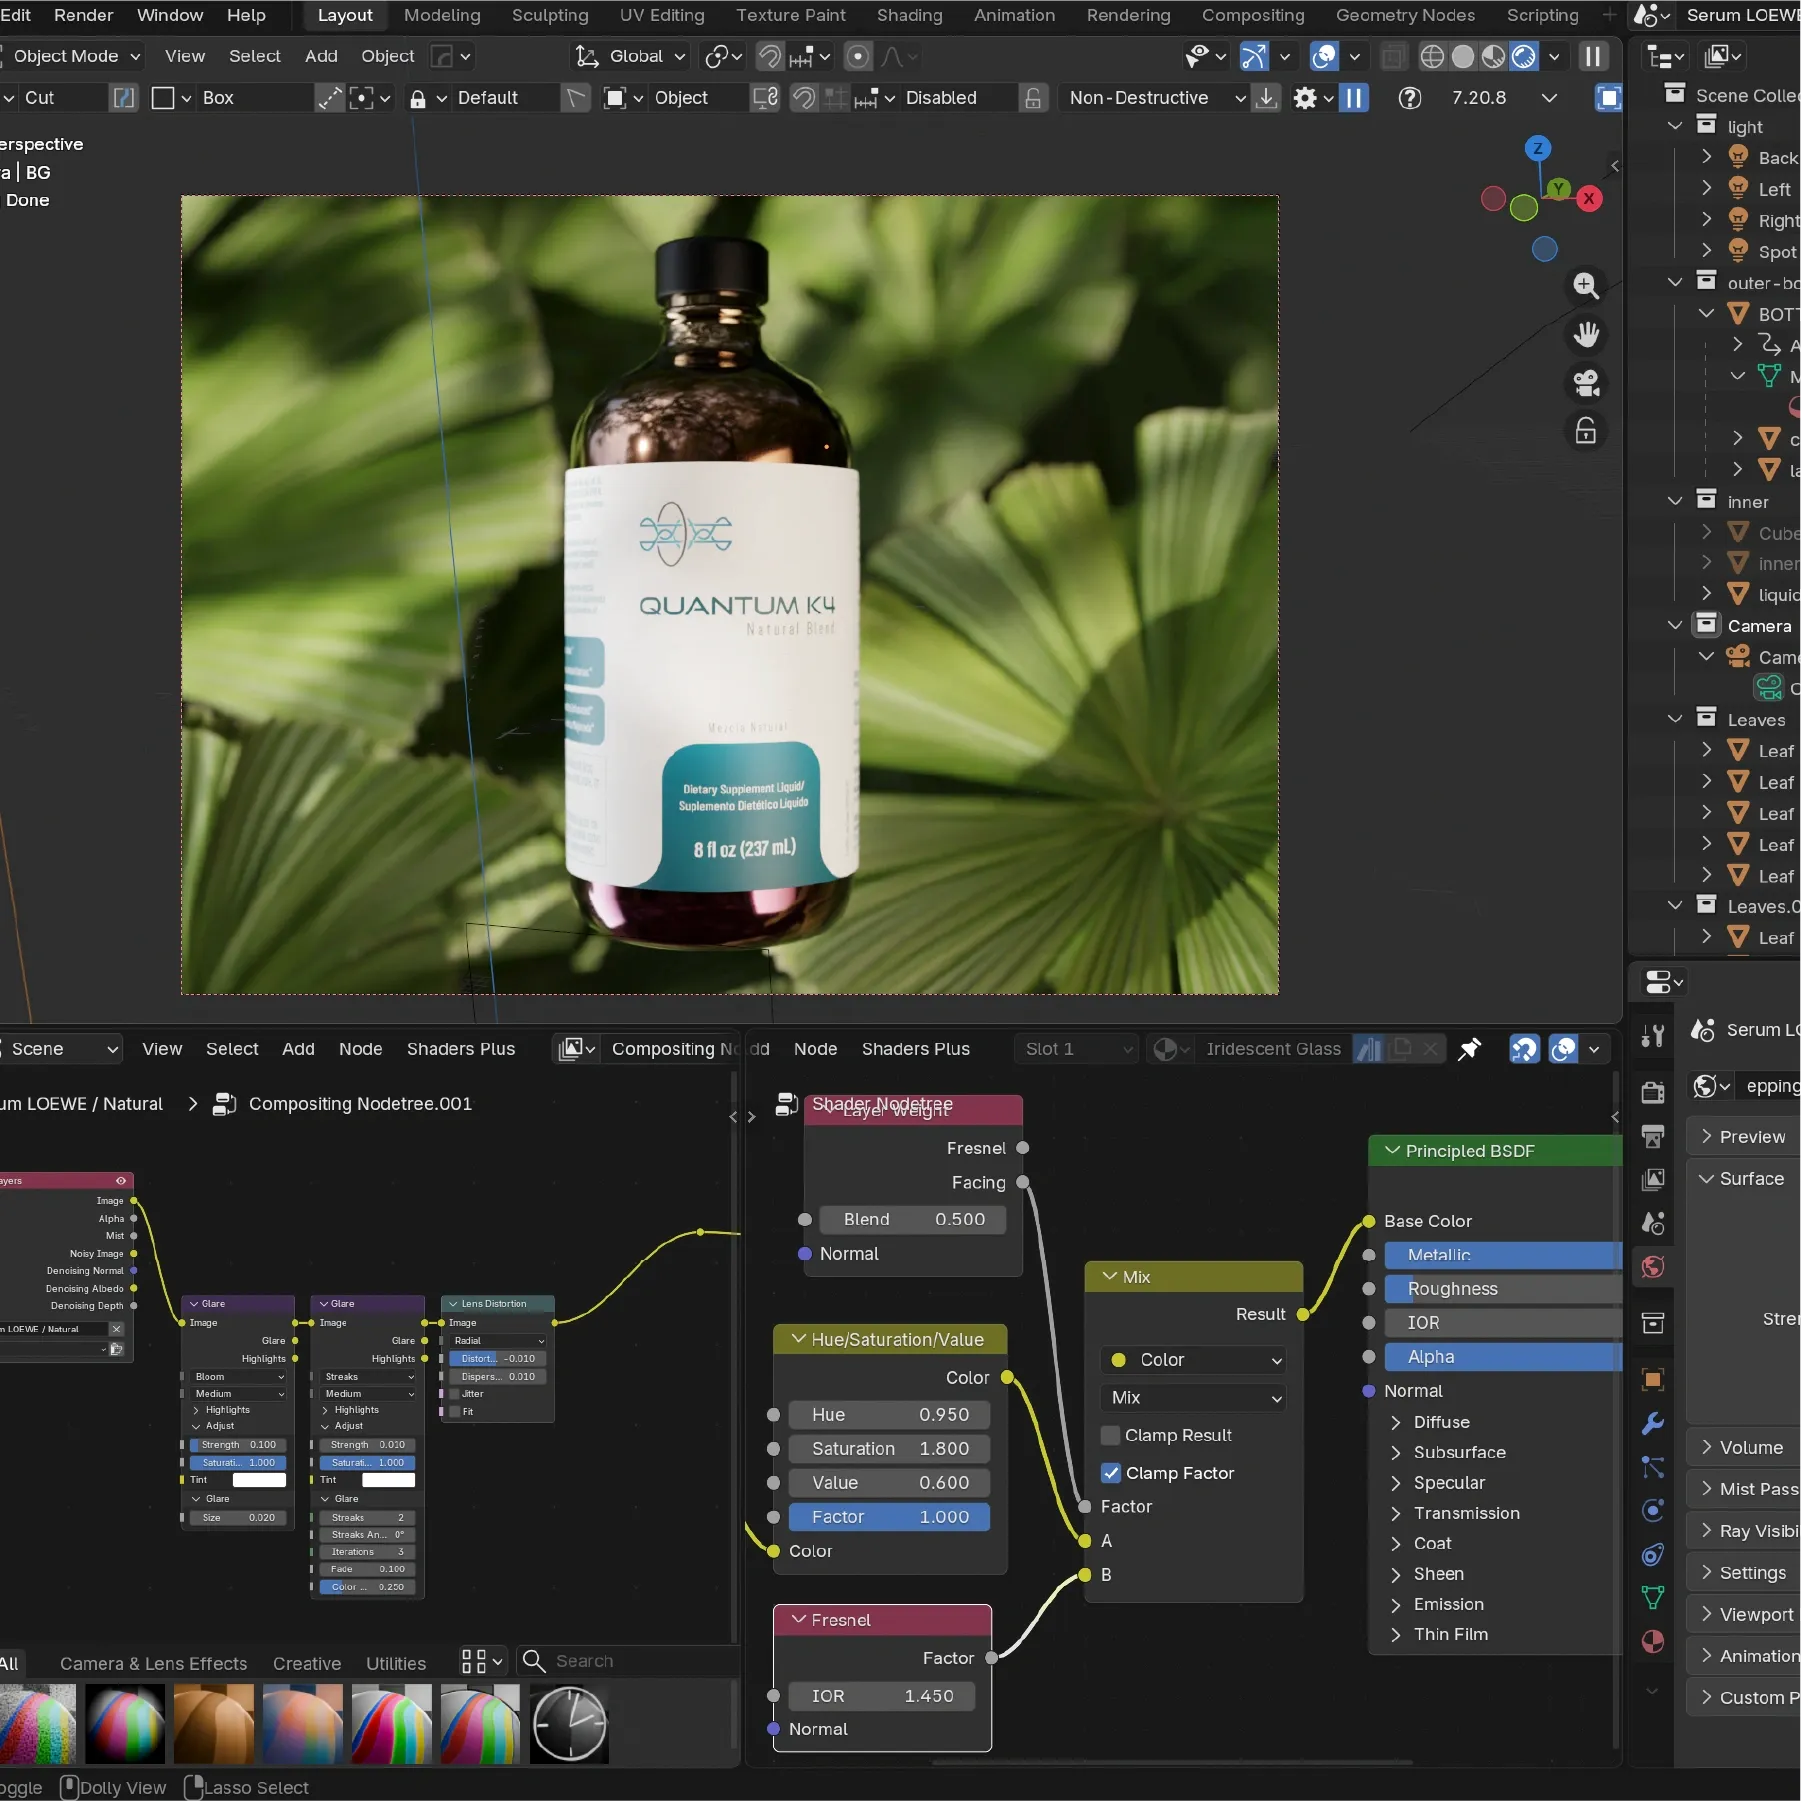
Finally, scene notes for photorealism: HDRI lighting is key for realistic environmental reflections (especially on glass). We used a 50mm camera lens to focus on the label and create a pleasing depth of field effect (blurred background similar to macro photography). We preferred Cycles for realism, although this also means longer render times. The final result is a photoreal product render suitable for brand and marketing use.
Thanks for following along. To keep this article concise, we skipped a few implementation details, but if you have questions or want to dive deeper into a specific stage, feel free to reach out.
This work is part of the Quantum K4 project
Read the case studyNotes
Footnotes
-
The work shown here was produced with Blender 4.3 to 4.5. The screenshots in this post show Blender 5.0 UI. Depending on when you read this, the interface may look slightly different. ↩